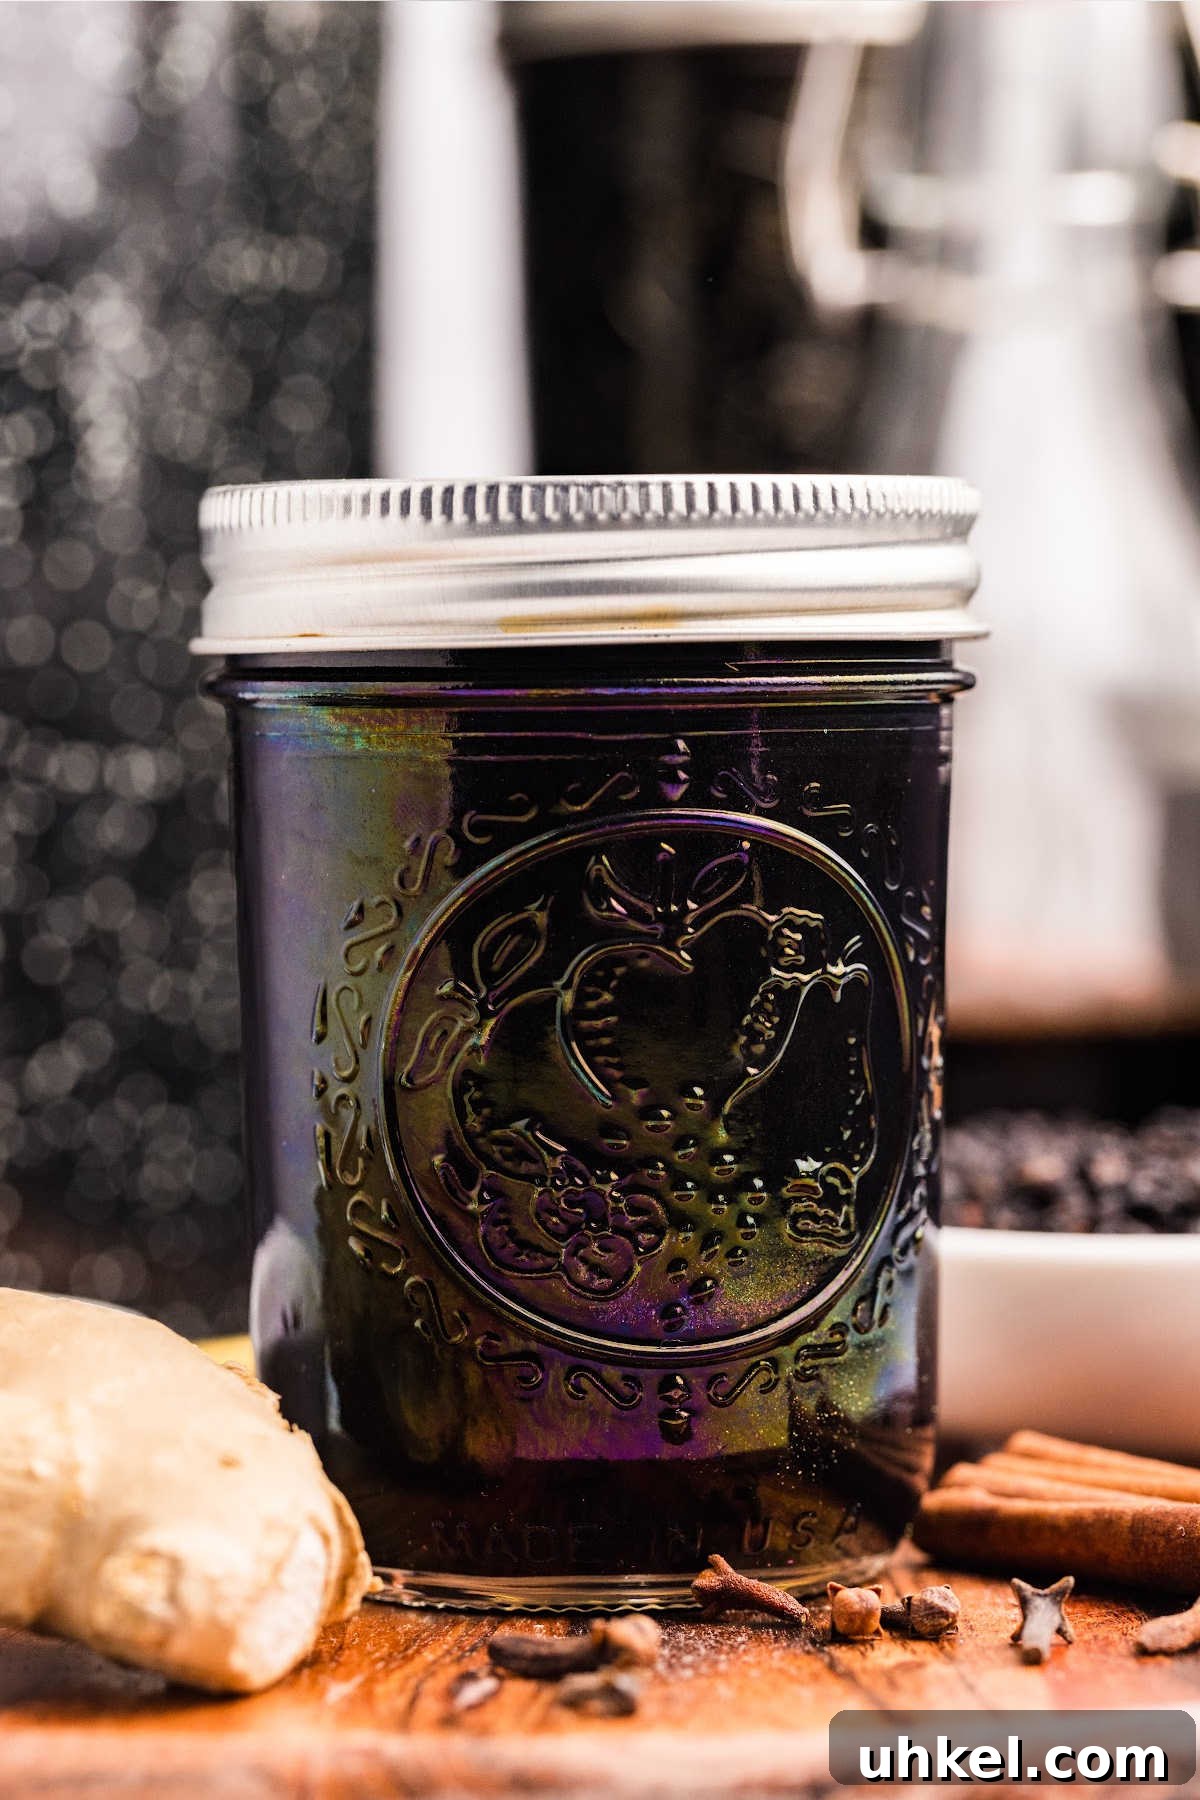
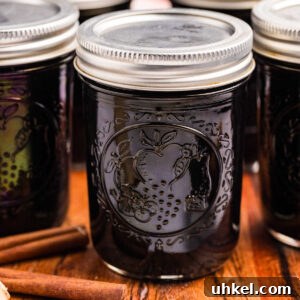
I make this spiced elderberry syrup every fall. It’s a staple for our home once the weather cools. The syrup is naturally sweet, lightly spiced with cinnamon and ginger, and suitable for water-bath canning for long-term storage. If you’ve tried elderberry syrup and found it too bitter or medicinal, this version is milder and more balanced.
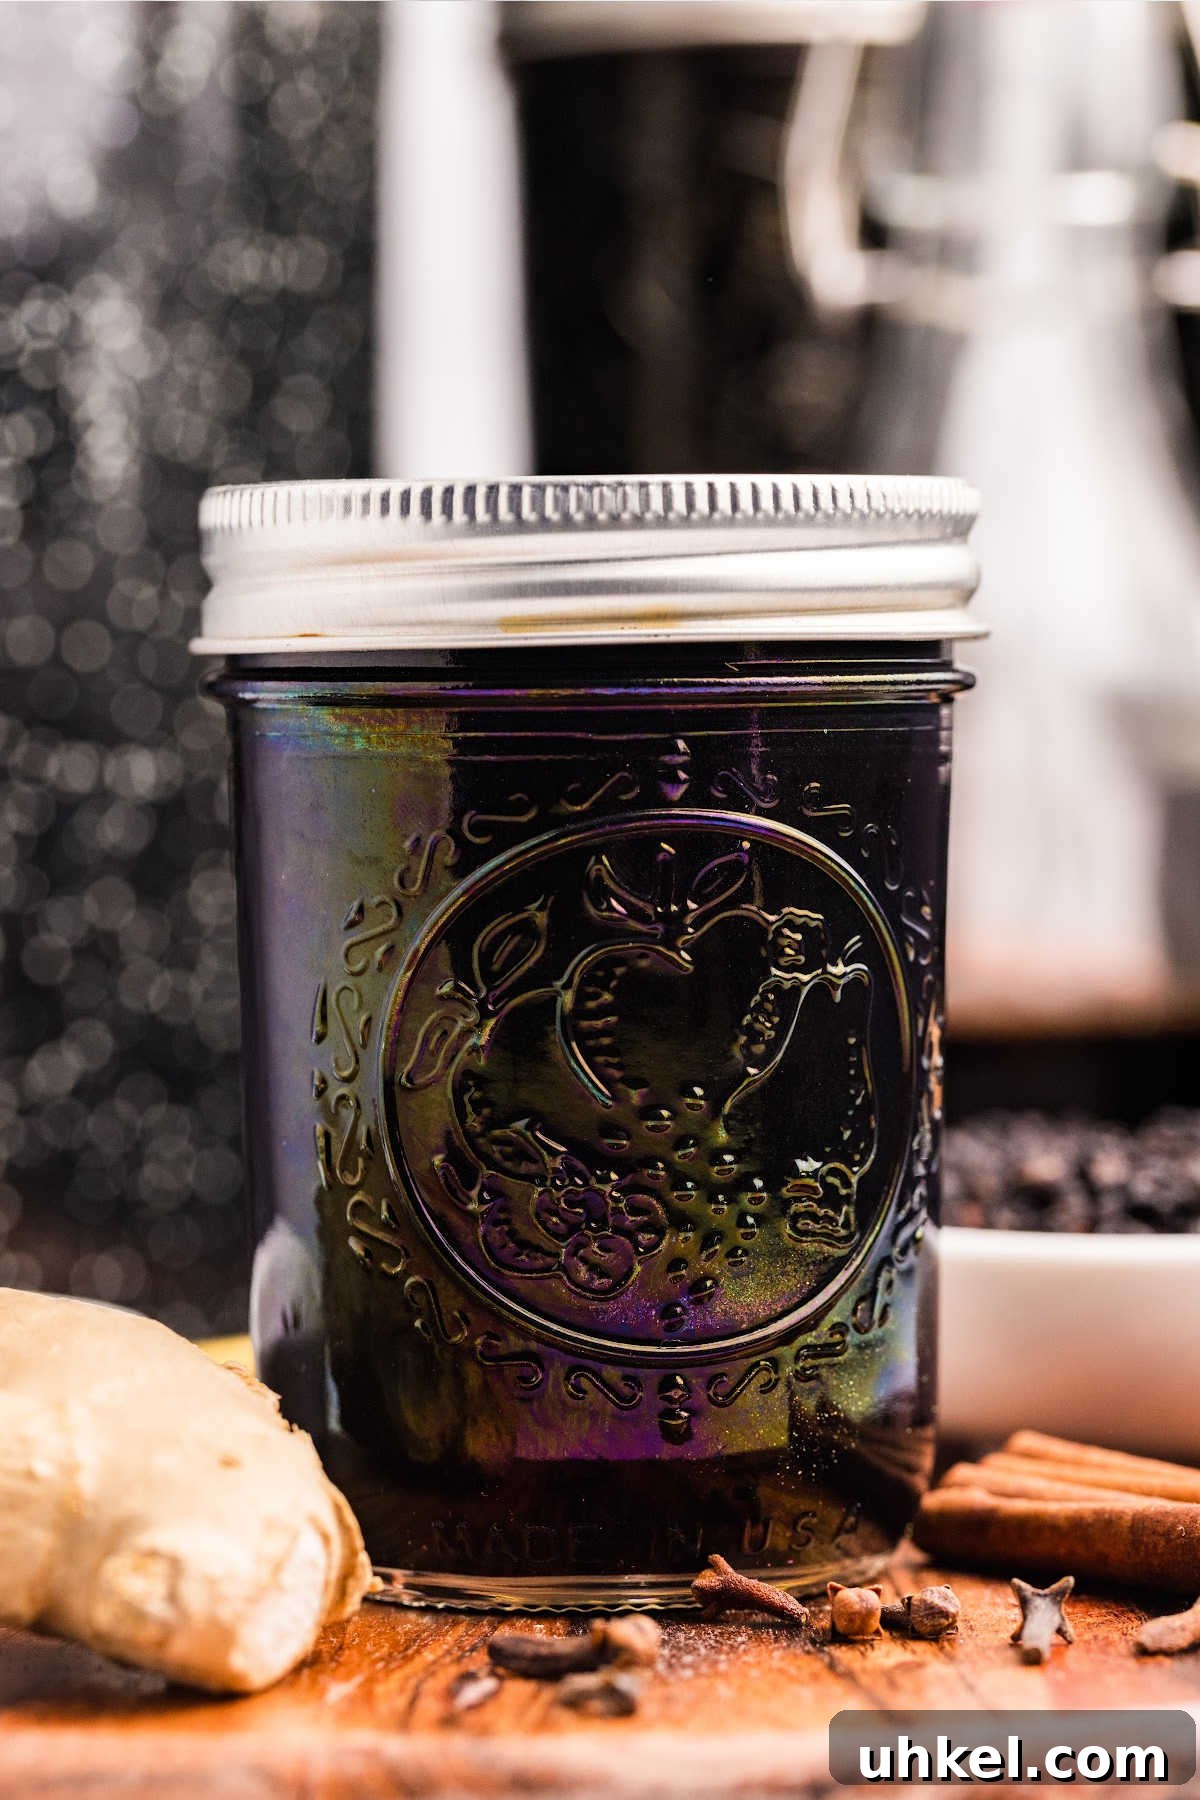
When temperatures drop I make a batch so we have it ready for when someone feels under the weather — and also to enjoy when everyone is healthy. The flavor is pleasant on its own, but it also pairs beautifully with hot tea, pancakes, or vanilla ice cream. Below you’ll find clear instructions, helpful tips for canning, and storage guidance so your jars keep well.
Table of Contents
- Ingredients and Tools You’ll Need
- How to Make Elderberry Syrup
- Serving & Storing
- Questions and Troubleshooting
- More Syrup Recipes to Try
- Printable Recipe
Ingredients and Tools You’ll Need
You can use dried or fresh elderberries. If using fresh, you’ll need about twice the volume listed for dried berries. A reusable tea bag or a small cheesecloth sachet works well for containing whole cloves so you can remove them easily at the end.
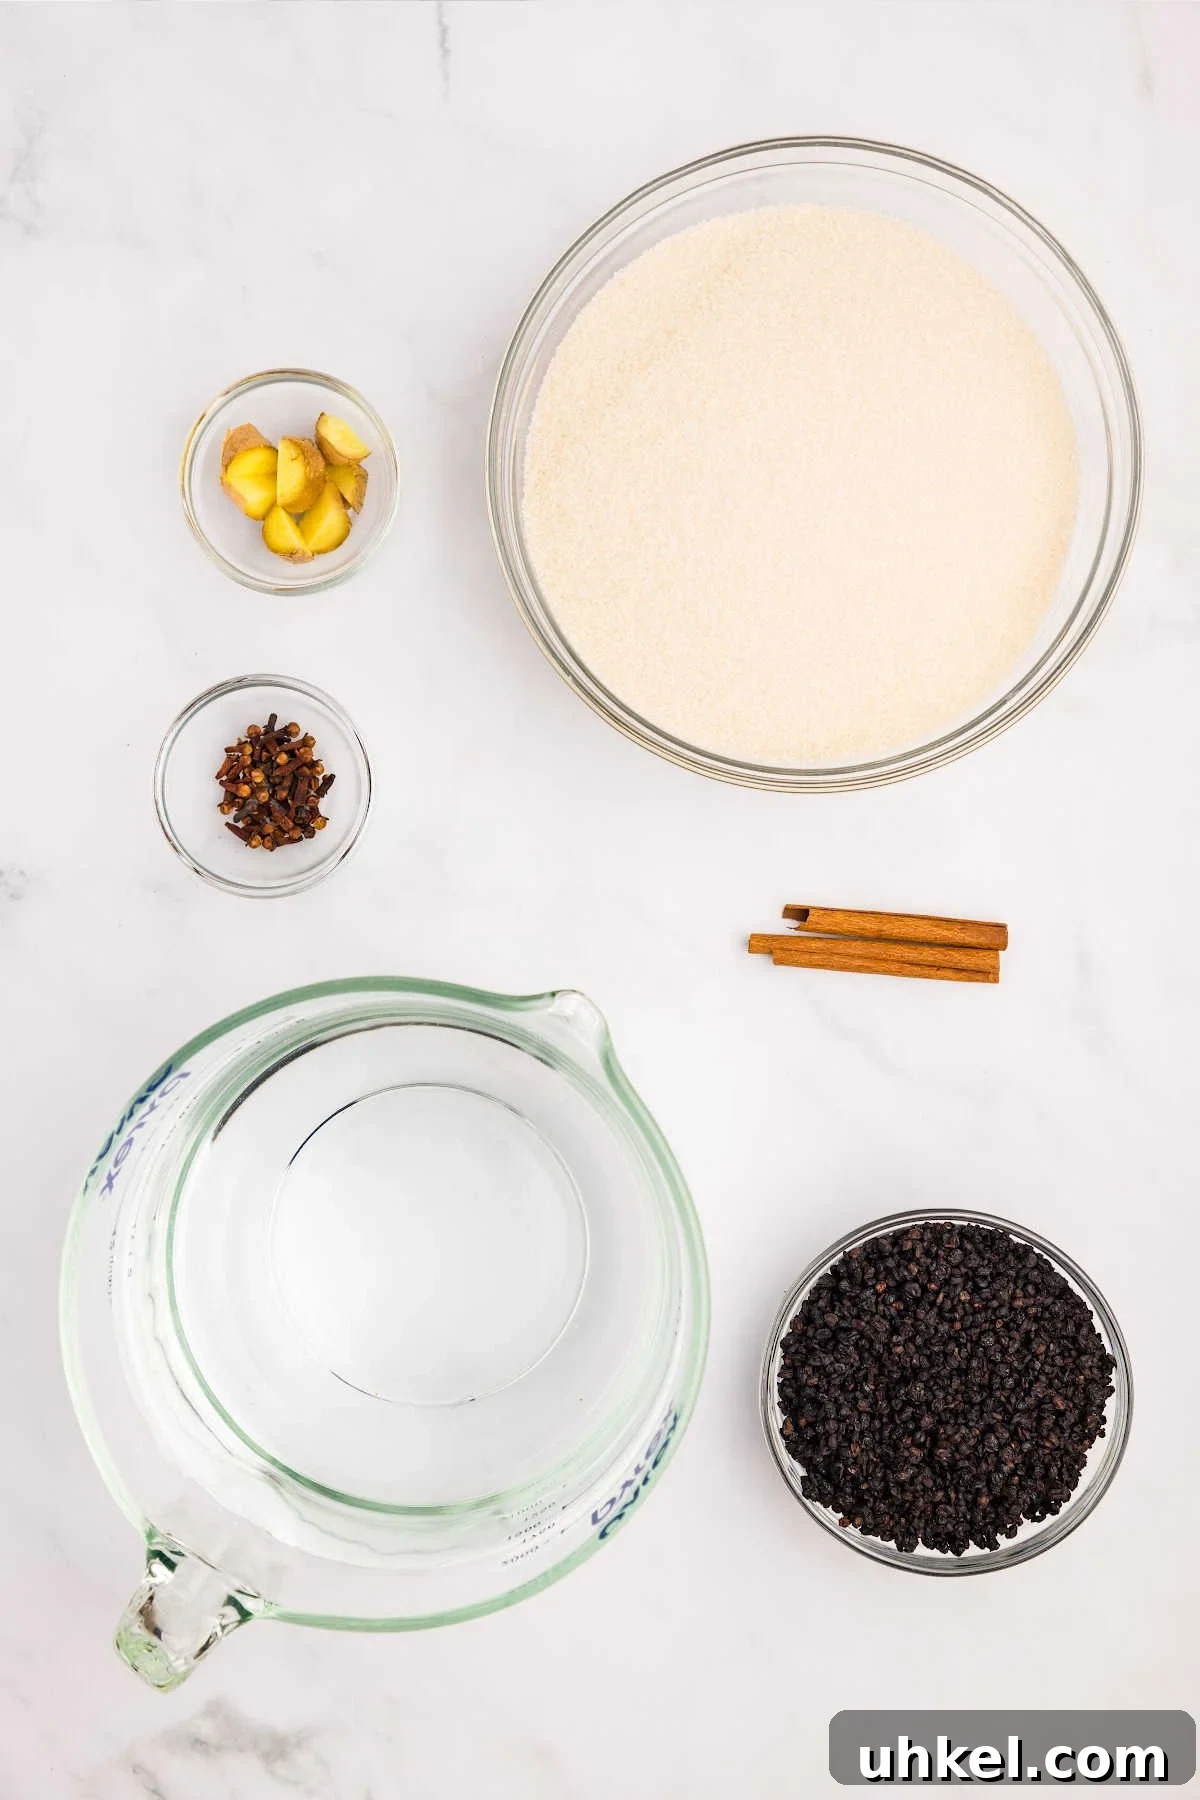
If you want to scale this recipe up, you can double or triple the quantities. Adjust proportions evenly to keep the flavor and texture consistent.
Equipment
- 8-quart pot
- Fine mesh strainer
- Water-bath canner or large stockpot suitable for processing jars
- Pint or half-pint jars
- Lids and rings
- Funnel
- Ladle
- Jar lifter
- Lid magnet or tongs
- Towel
Ingredients
- 2 cups dried elderberries (or about 4 cups fresh)
- 8 cups water
- 1 inch fresh ginger, chopped
- 4 cups granulated sugar
- 2 cinnamon sticks
- 1 teaspoon whole cloves (in a small sachet or reusable tea bag)
How to Make Elderberry Syrup
Step One: Simmer Berries
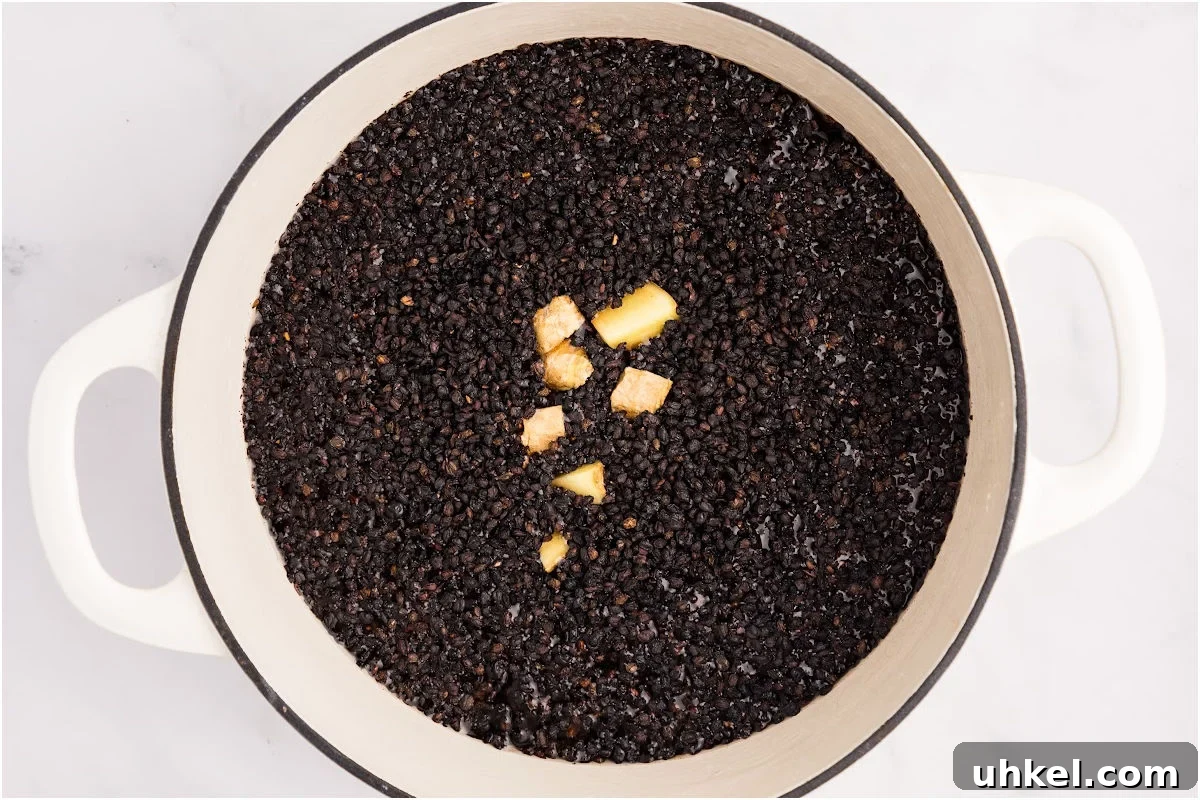
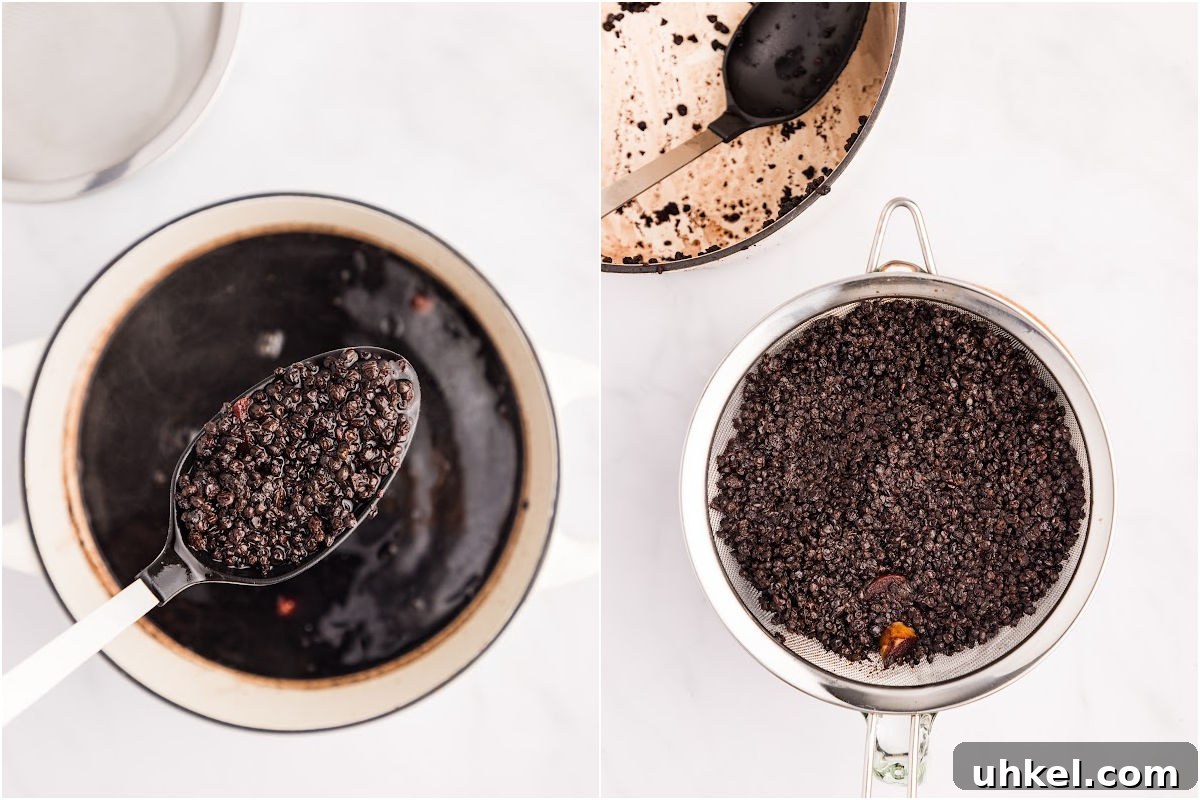
Add the elderberries, chopped ginger, and water to a large pot. Bring to a gentle boil over medium heat, stirring occasionally. Once it reaches a boil, reduce heat to low, cover, and simmer for 1 hour if using dried berries (about 30 minutes for fresh berries). Simmering extracts the color and flavor from the berries.
Step Two: Cool
Remove the pot from heat, uncover, and allow the mixture to cool for about 20 minutes. Cooling slightly makes it safer and easier to strain.
Step Three: Strain
Place a fine mesh strainer over a large mixing bowl and pour the elderberry mixture through it. Allow the liquid to drain fully — this can take up to an hour. Do not press the solids too hard; gentle draining yields a clearer, less astringent syrup. Discard the solids and reserve the liquid.
Step Four: Prep for Canning
Wash your jars, lids, and rings in hot, soapy water. Place the jars in your water-bath canner and submerge them in water on the stove; heat the water until it’s hot and keep jars warm. Put lids and rings in a small saucepan of hot (not boiling) water to soften the sealing compound. Keeping jars hot reduces the chance of breakage when you fill them with hot syrup.
Step Five: Add Sugar and Spices
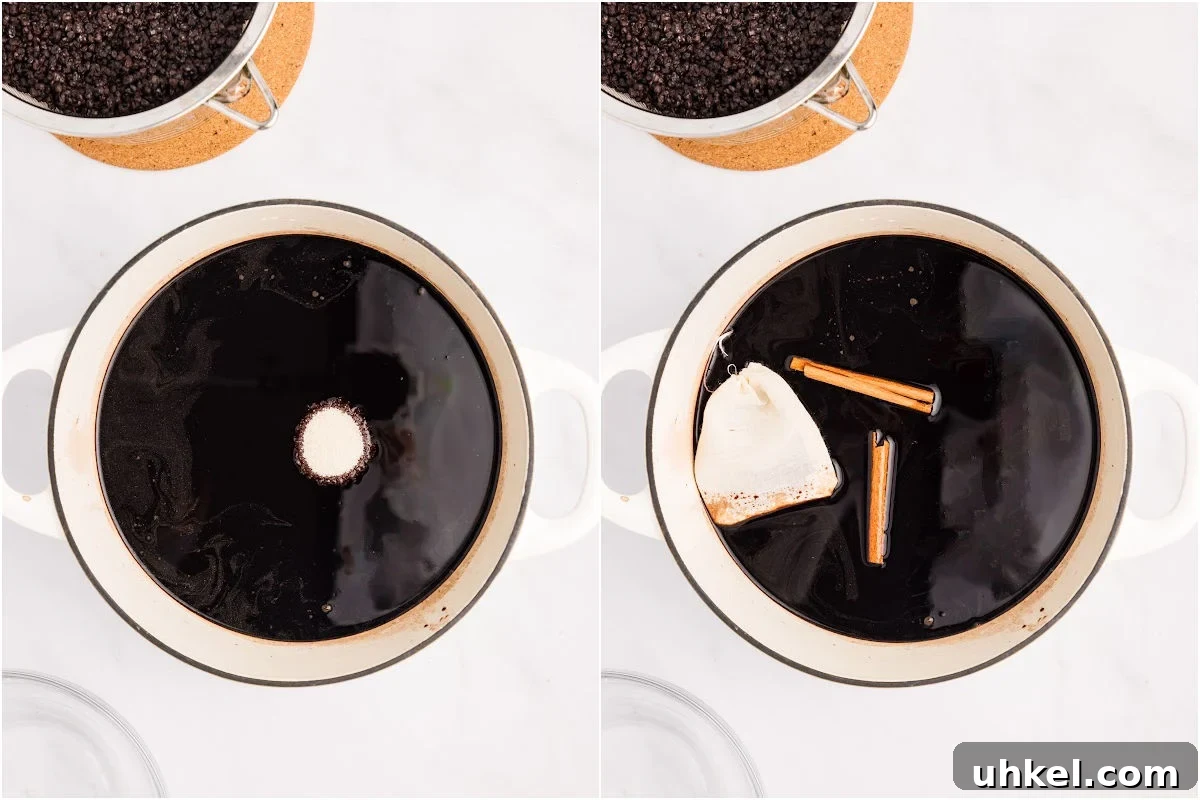
Transfer the strained liquid to a clean large saucepan. Add the sugar, cinnamon sticks, and the sachet of whole cloves. Stir to dissolve the sugar before heating.
Step Six: Boil and Stir Frequently
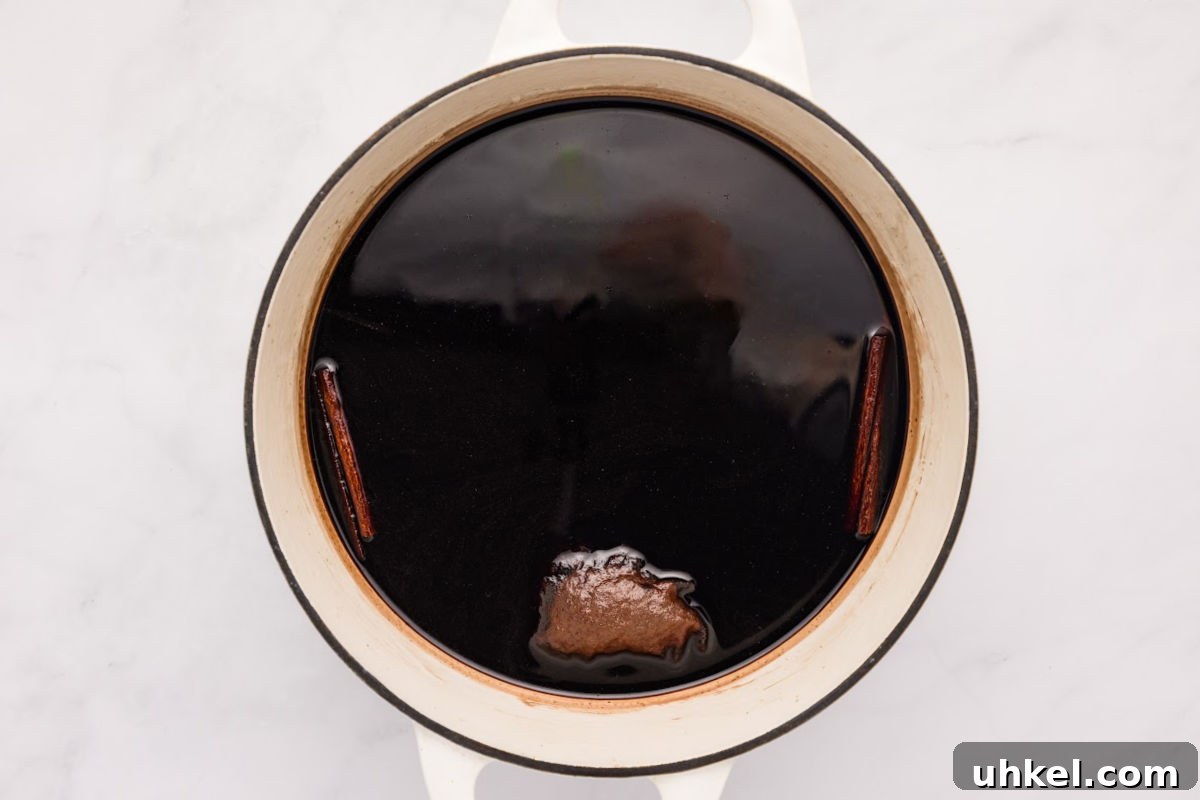
Heat the mixture over medium and bring to a low boil. Maintain a gentle boil for 30 minutes, stirring frequently to prevent scorching, which can make the syrup bitter. Keep the heat steady and watch for any signs of sticking on the bottom of the pan.
Step Seven: Remove Whole Spices
When the syrup has finished cooking, remove and discard the cinnamon sticks and cloves (or remove the sachet). The liquid should be glossy and pourable.
Step Eight: Fill Jars
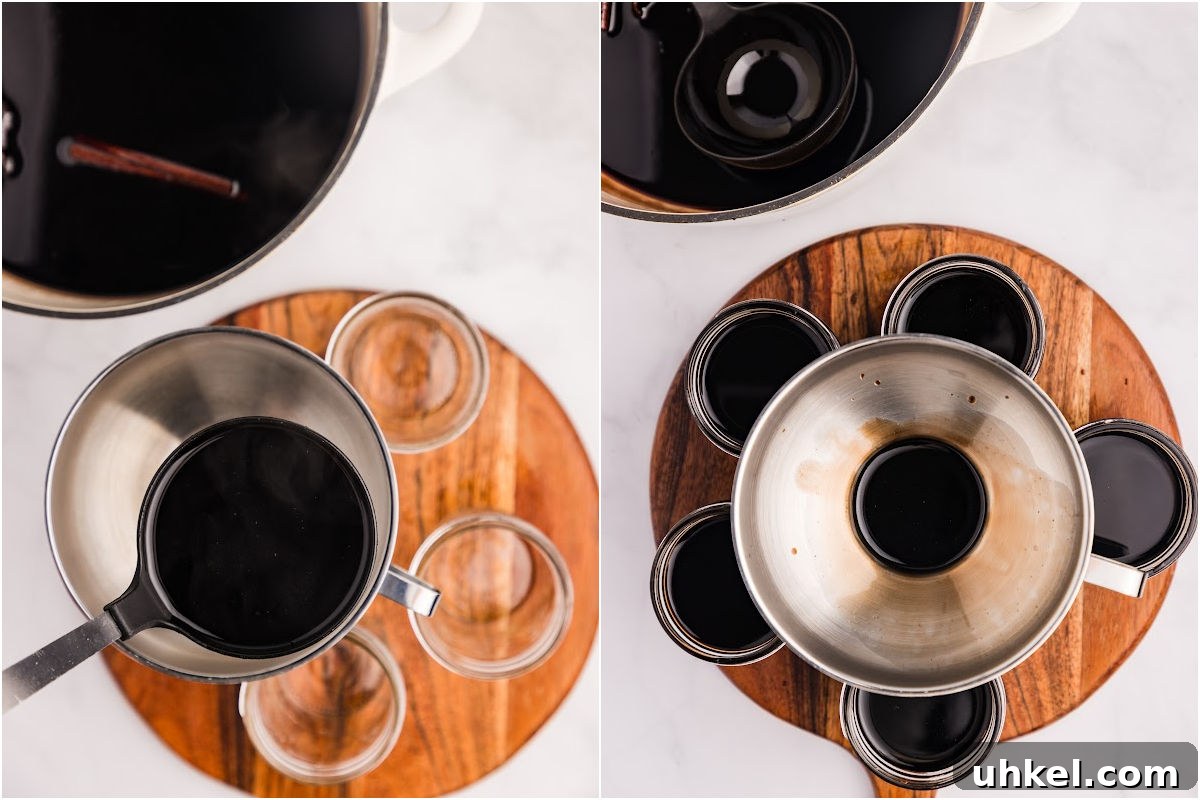
Using a canning funnel and ladle, carefully fill the hot jars with hot syrup, leaving about 1/4-inch headspace. This helps ensure a proper seal during processing.
Step Nine: Wipe Rims and Fasten Lids
Wipe the jar rims with a damp cloth to remove any syrup residue. Place lids on the jars and screw the rings down fingertip-tight — snug but not overly tight.
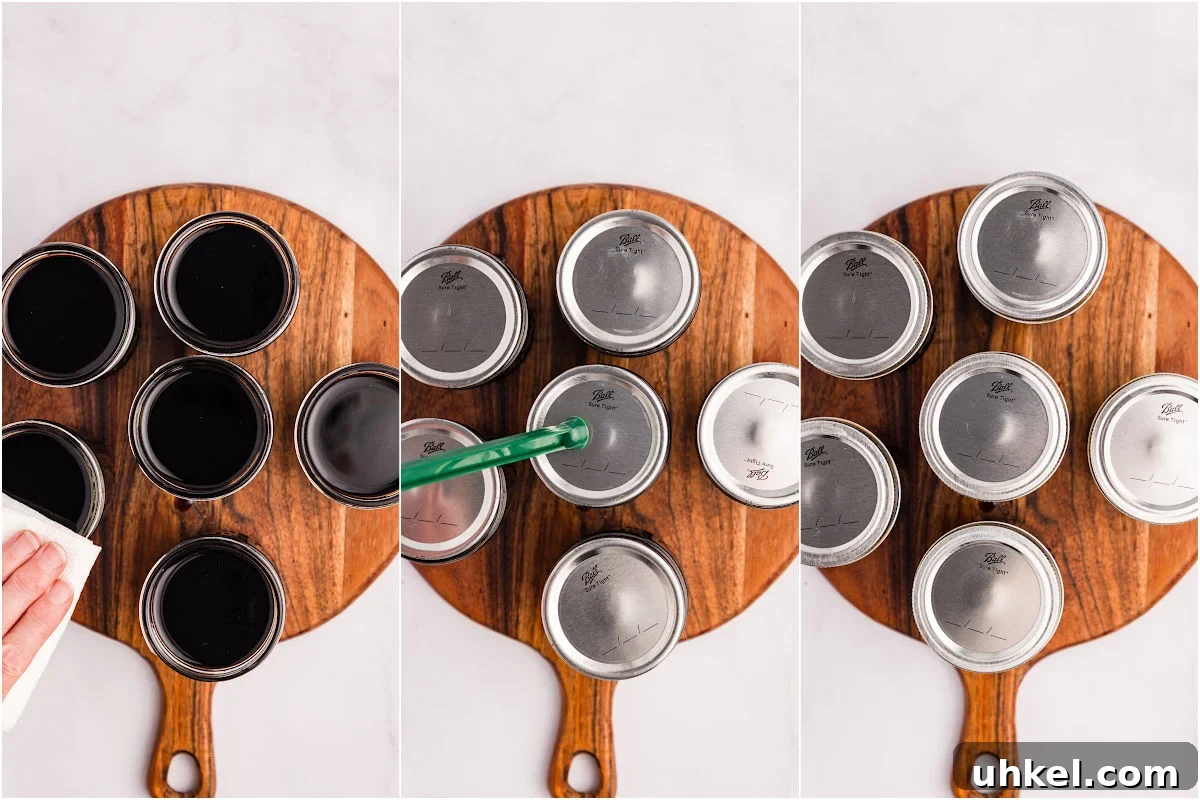
Step Ten: Process
Return the filled jars to the canner and ensure they are covered by at least 2 inches of water. Bring the water to a full rolling boil and process for 40 minutes. After the time is up, turn off the heat, remove the canner lid, and let jars sit in the hot water for 5 minutes before removing.
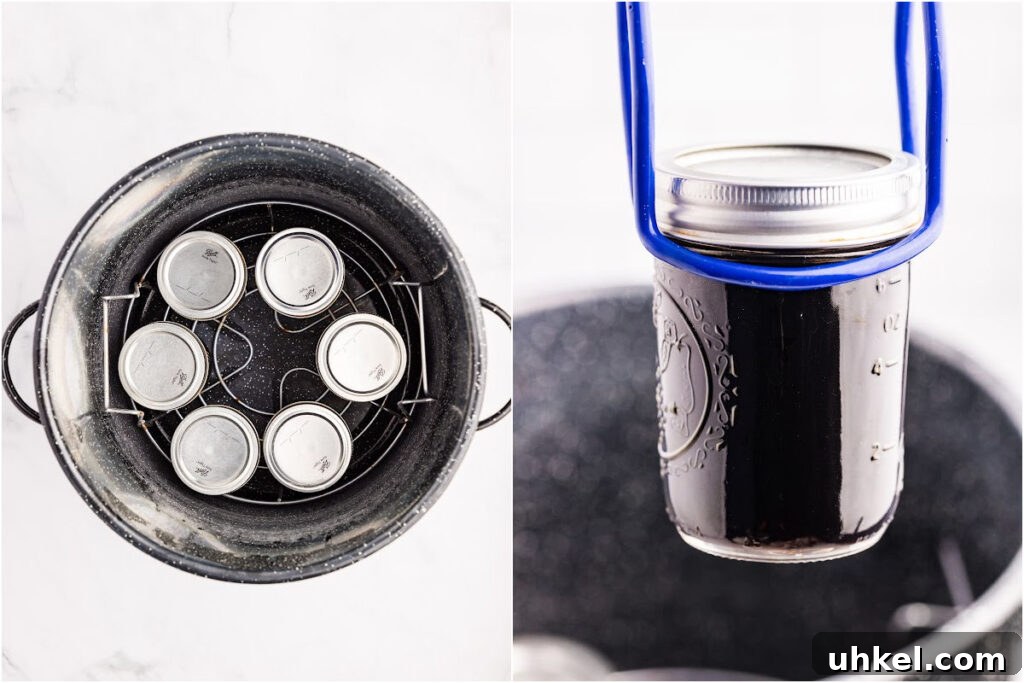
Step Eleven: Cool and Store
Place jars on a towel or heat-safe surface and cool undisturbed for 12–24 hours. Check the lids after 24 hours to ensure they have sealed (the center should be indented). If sealed, remove the rings and store the jars in a cool, dark place. Properly sealed jars will keep up to 18 months; follow any additional guidance from your lid manufacturer.
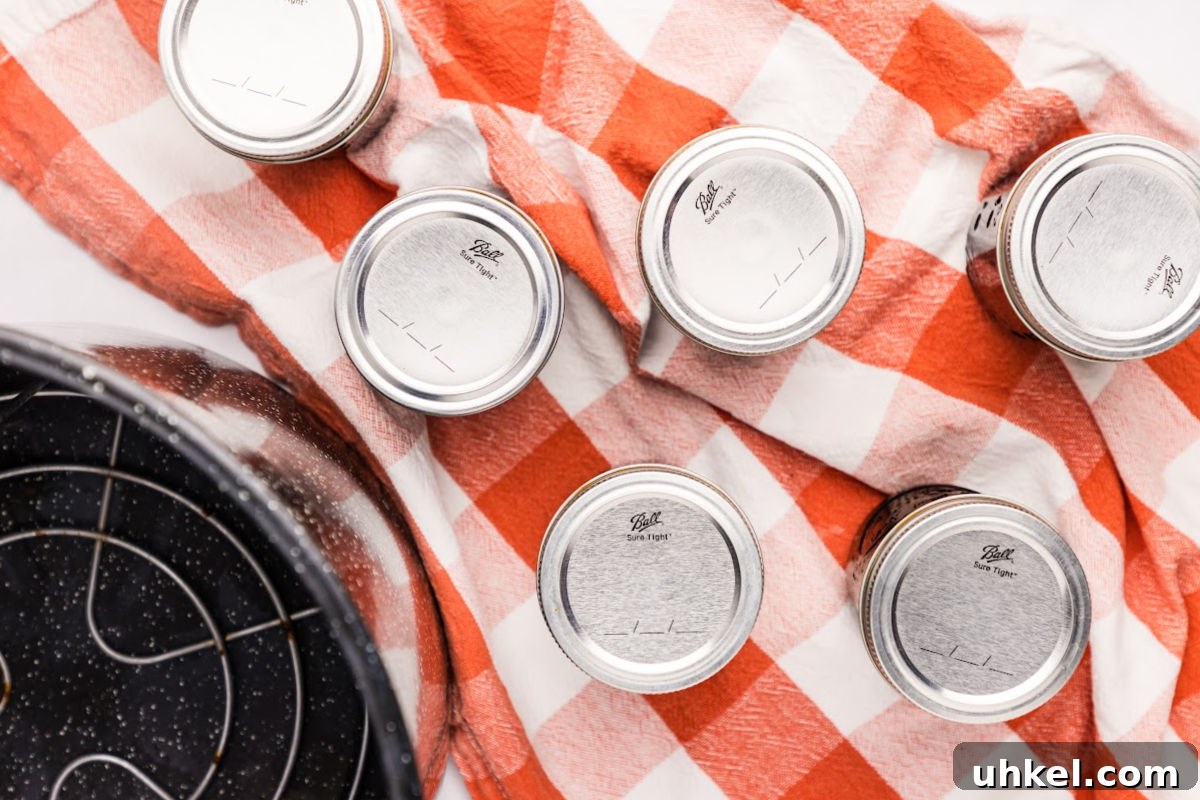
Serving & Storing
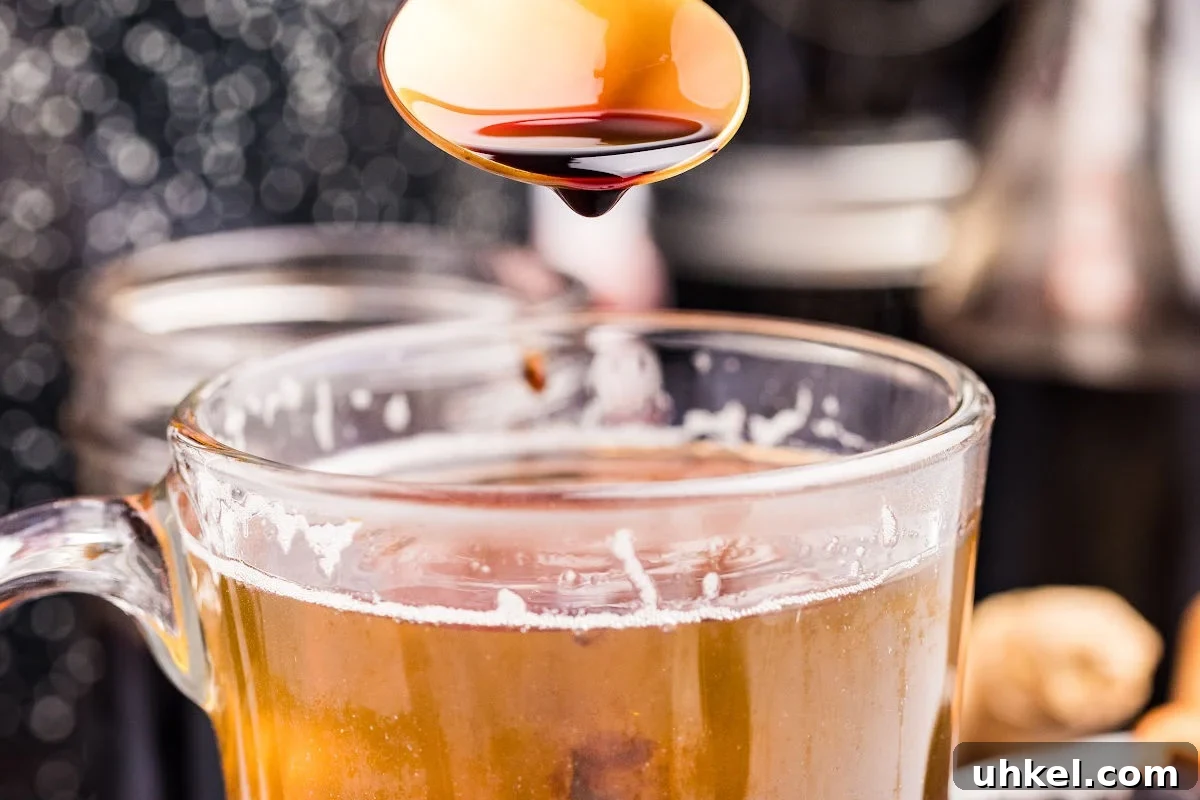
Serve elderberry syrup stirred into hot tea, drizzled over pancakes, or spooned over vanilla ice cream. The syrup adds color and a warm spiced note to many dishes.
Store sealed jars in a cool, dark place for up to 18 months. Once opened, refrigerate and use within a few weeks for best flavor. If you choose not to water-bath can, cool the syrup completely and transfer it to an airtight container; refrigerate and use within 2–3 weeks.
Questions and Troubleshooting
For long-term, shelf-stable storage a water-bath canner is strongly recommended. If you don’t have one, keep the syrup refrigerated and use within a few weeks.
Honey is not recommended for this recipe if you plan to water-bath can. Honey can raise the pH and affect the safety of the final product. Use granulated sugar and the amounts listed.
Bitterness usually means the syrup scorched while cooking. Stir frequently and keep the heat controlled to avoid burning solids onto the pan bottom.
More Syrup Recipes to Try
Syrups are a great way to preserve seasonal fruit and add homemade flavor to breakfasts and desserts. Try other fruit syrups like strawberry, raspberry, apple, or blueberry for different uses around the kitchen.
Printable Recipe
Elderberry Syrup
Easy spiced elderberry syrup made for canning. Yields about 6–7 pints depending on losses during straining and simmering.
Equipment
- 8-quart pot
- Fine mesh strainer
- Water-bath canner or large stockpot
- Pint or half-pint jars, lids, and rings
- Funnel, ladle, jar lifter, towel
Ingredients
- 2 cups dried elderberries (or 4 cups fresh)
- 8 cups water
- 1 inch fresh ginger, chopped
- 4 cups sugar
- 2 cinnamon sticks
- 1 teaspoon whole cloves (in a sachet)
Instructions
- Simmer berries. Add elderberries, ginger, and water to a large pot. Bring to a boil, then reduce to low and simmer 1 hour for dried berries (30 minutes for fresh).
- Cool. Remove from heat, uncover, and cool about 20 minutes.
- Strain. Strain through a fine mesh strainer into a bowl and allow to drain for up to an hour. Discard solids.
- Prep jars. Wash jars and warm them in your canner. Keep lids warm in hot (not boiling) water.
- Add sugar and spices. Combine the strained liquid with sugar, cinnamon sticks, and cloves in a saucepan.
- Boil and stir. Bring to a low boil and cook 30 minutes, stirring frequently to avoid scorching.
- Remove spices. Take out cinnamon sticks and cloves.
- Fill jars. Ladle hot syrup into prepared jars, leaving 1/4-inch headspace.
- Wipe and seal. Wipe rims, place lids, and tighten rings fingertip-tight.
- Process. Process jars in a boiling water bath for 40 minutes. After processing, remove the canner lid and wait 5 minutes before lifting jars out.
- Cool and store. Cool jars 12–24 hours, check seals, remove rings, and store sealed jars in a cool, dark spot for up to 18 months.
Notes
I tested the pH of this recipe at about 3.6. For safe water-bath canning, do not substitute the sugar with honey or reduce the sugar, as changes can raise pH above recommended levels.