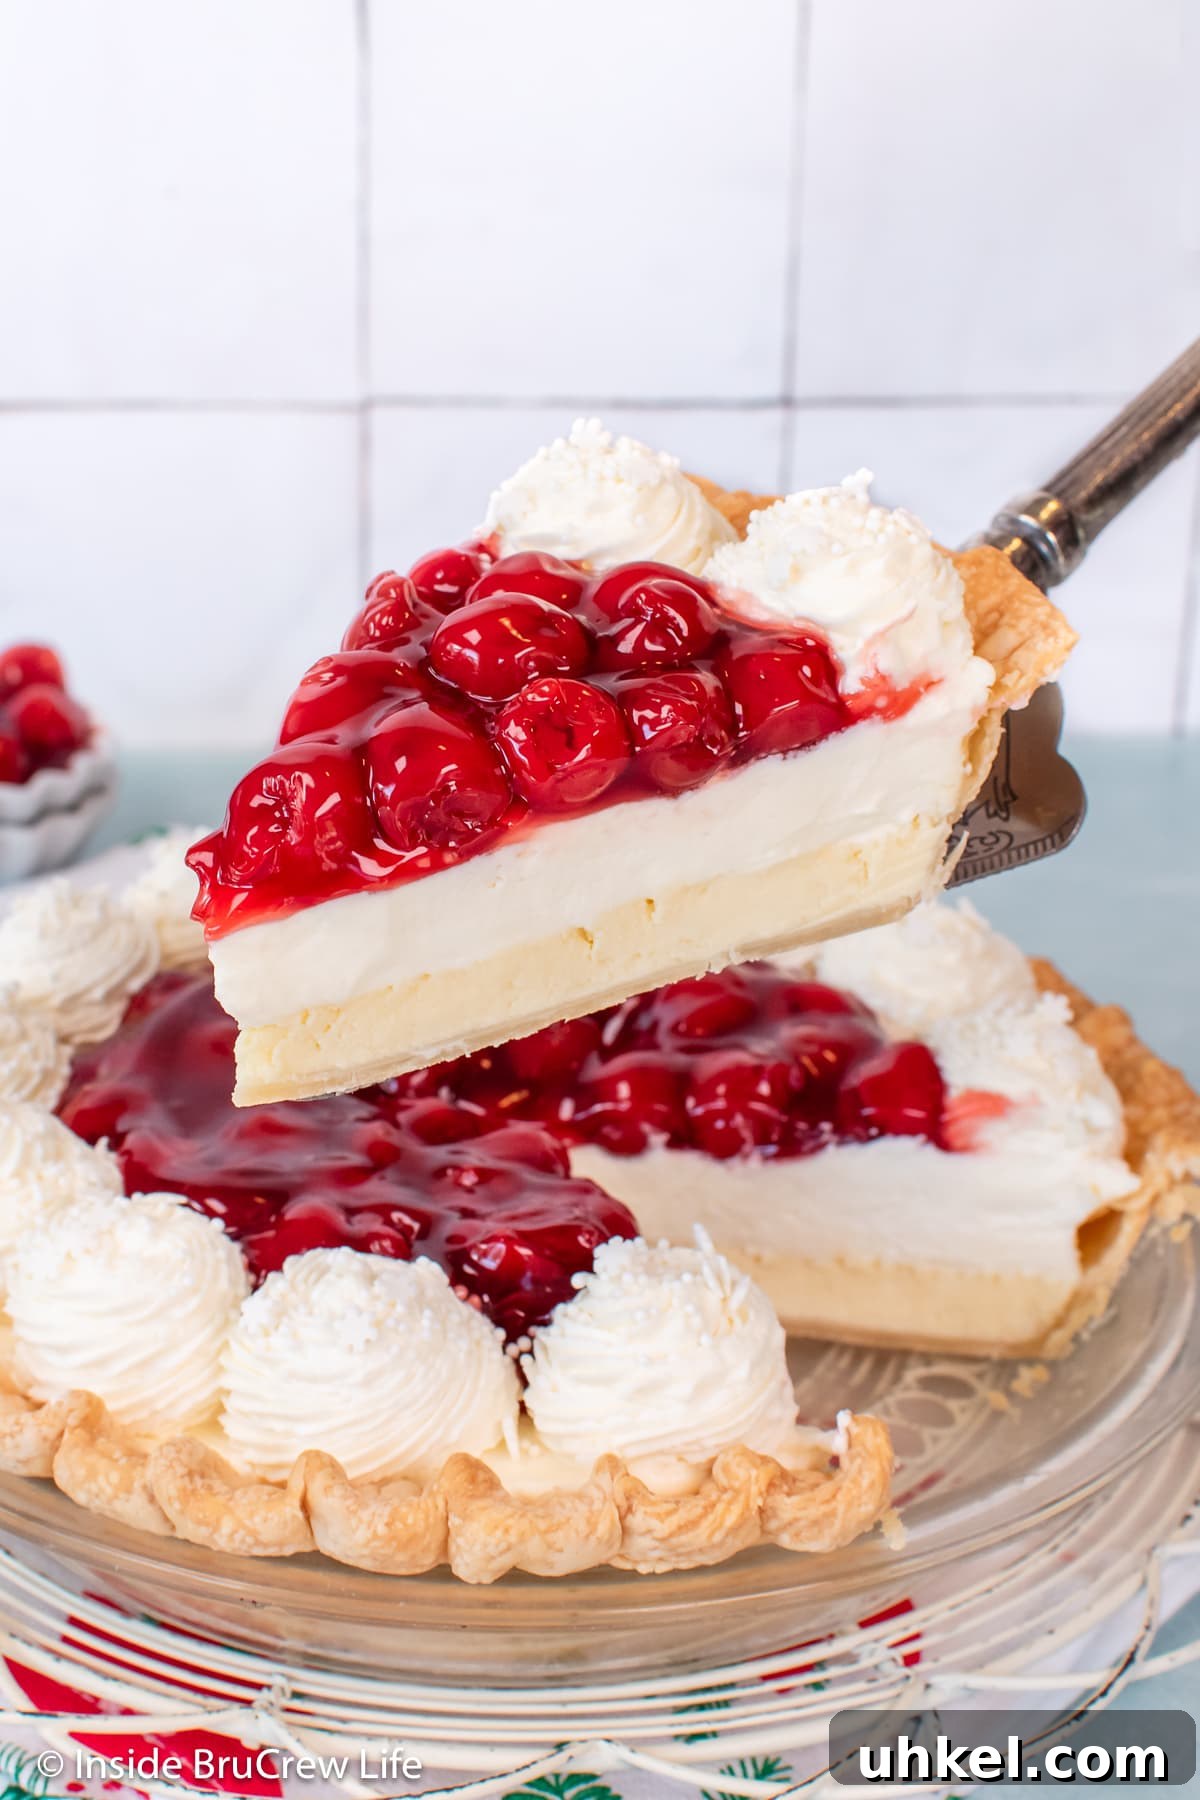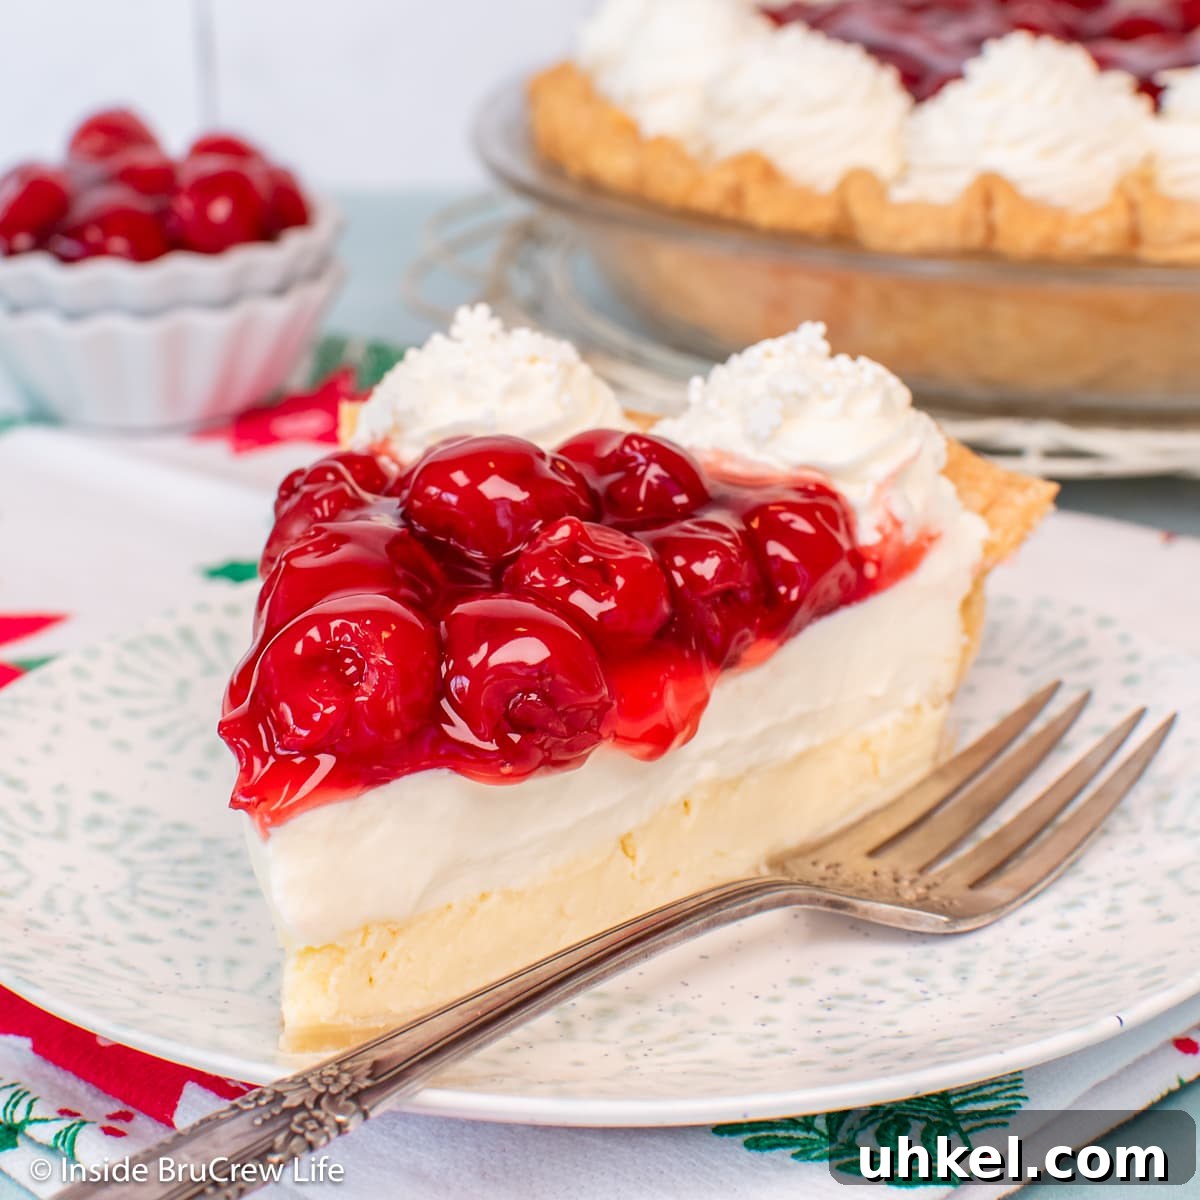
This Cherry Cream Cheese Pie is a delightful and easy dessert to prepare. It combines a baked cheesecake base with a light, no-bake cream cheese topping and a bright cherry pie filling for a dessert that looks impressive but comes together with minimal fuss.
If you enjoy cherry desserts, try other cherry treats like a cherry Oreo icebox cake or a black forest cheesecake.
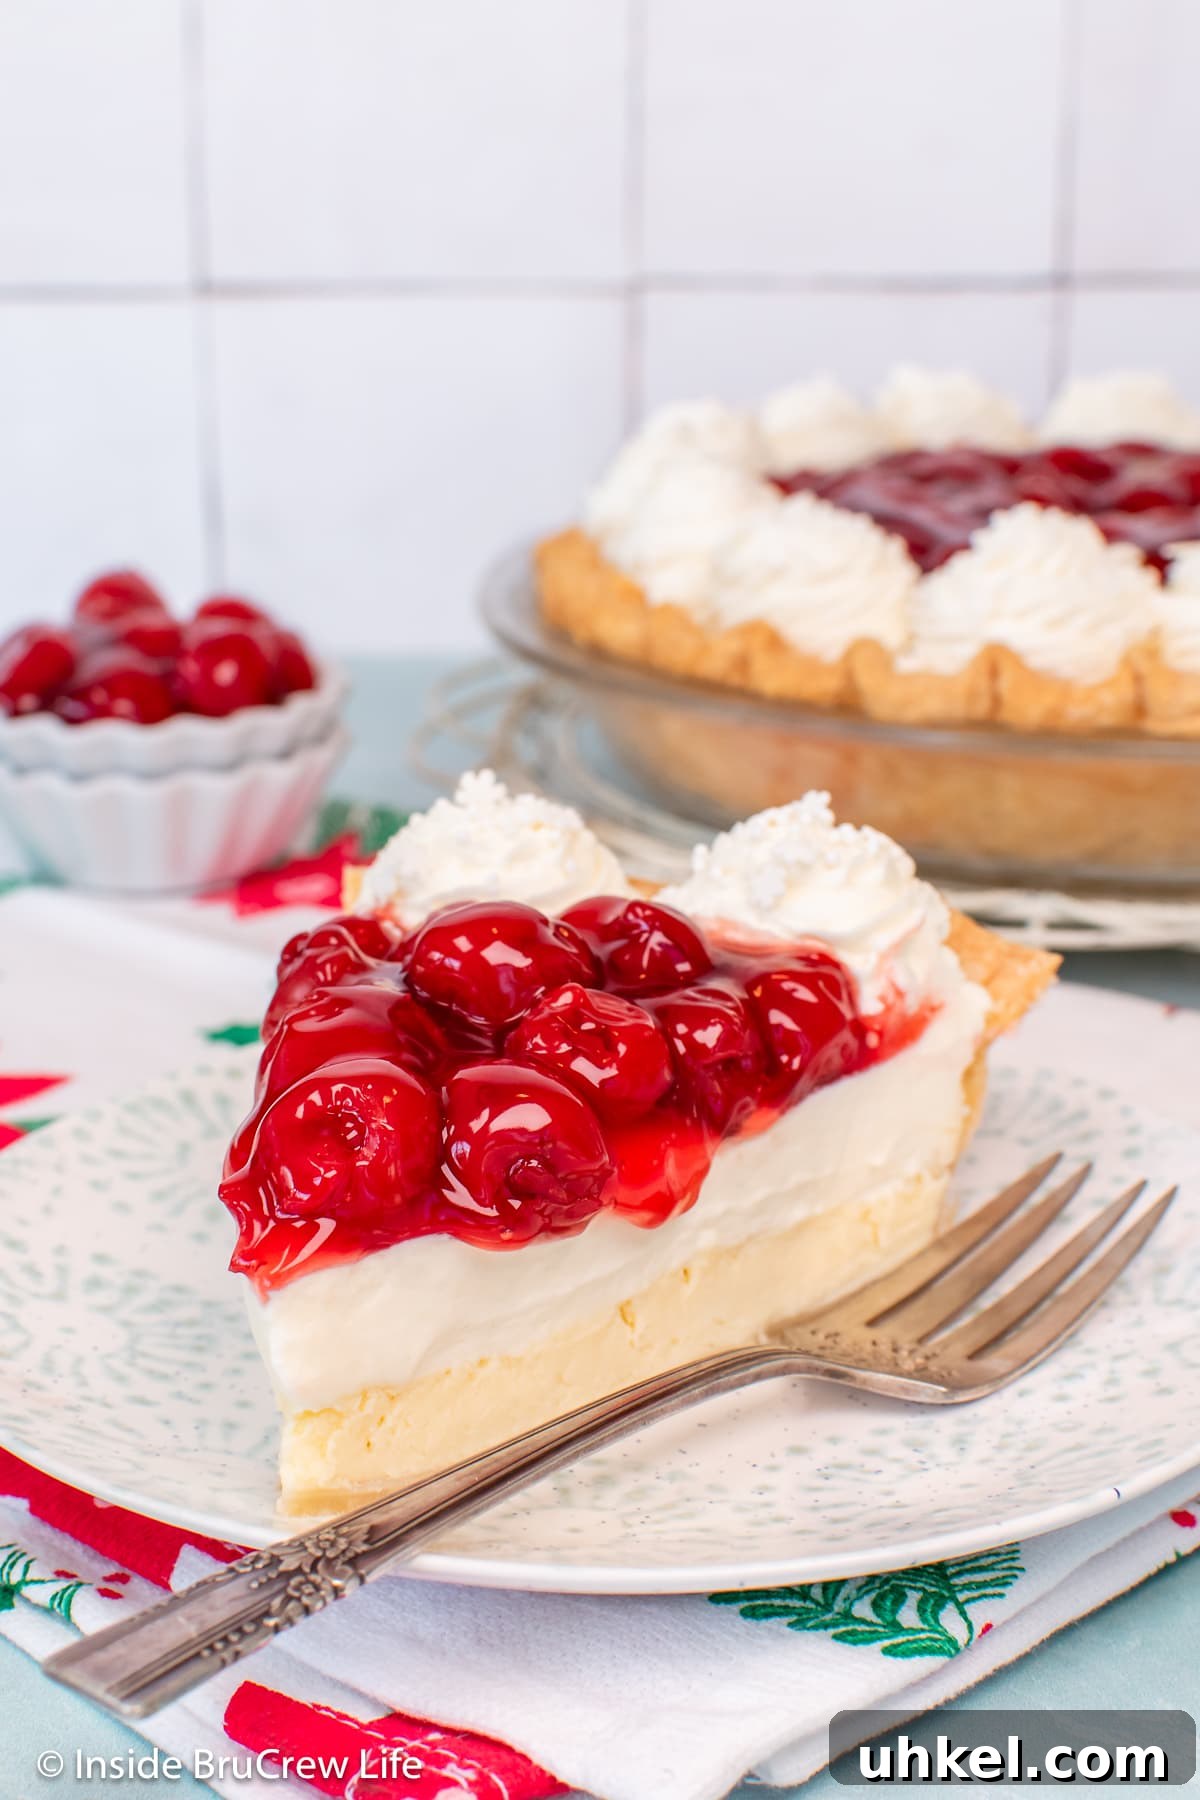
Cheesecake is one of our favorite desserts, but a full cheesecake can take a long time to bake and chill. A cream cheese pie gives you the familiar cheesecake flavor with less time and effort—perfect when you want something rich and satisfying without the long wait.
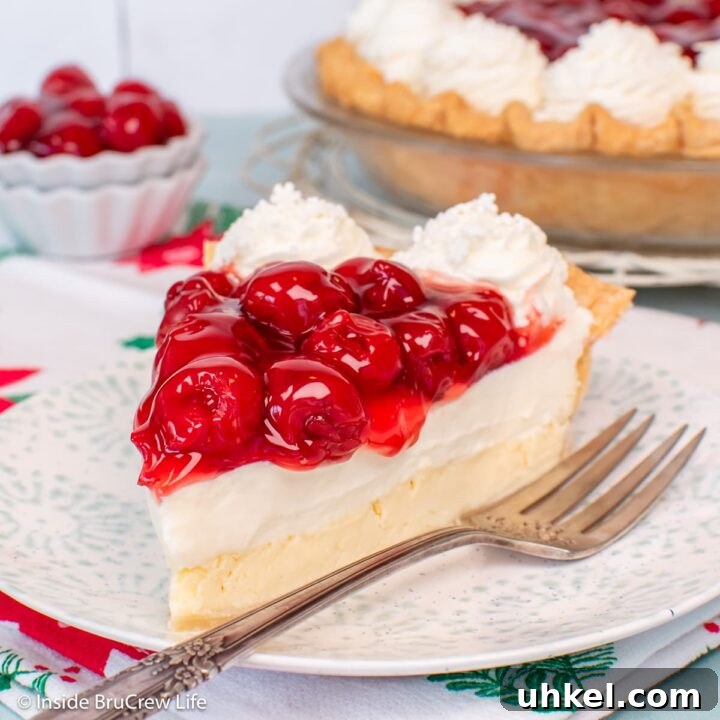
This version starts with a thin baked cream cheese layer in a pie crust. Once cooled, it is topped with a fluffy, no-bake cream cheese whipped layer that adds a light contrast to the denser base. The final touch is a spoonful of sweet cherry pie filling that brings color and a bright fruit flavor to every slice.
Why You’ll Love This Cherry Cream Pie
This dessert looks like something from a bakery but is simple to make at home. It’s a great recipe for both weekday treats and special occasions.
- Easy to prepare. The steps are straightforward, so even novice bakers can get great results.
- Delicious contrast. The slightly tangy cream cheese layers balance the sweetness of the cherry topping.
- Great for gatherings. It slices neatly and serves well at family dinners, potlucks, or holiday tables.
What You’ll Need
This cherry cream cheese pie uses simple pantry ingredients. Bring dairy items to room temperature before starting for the smoothest texture.
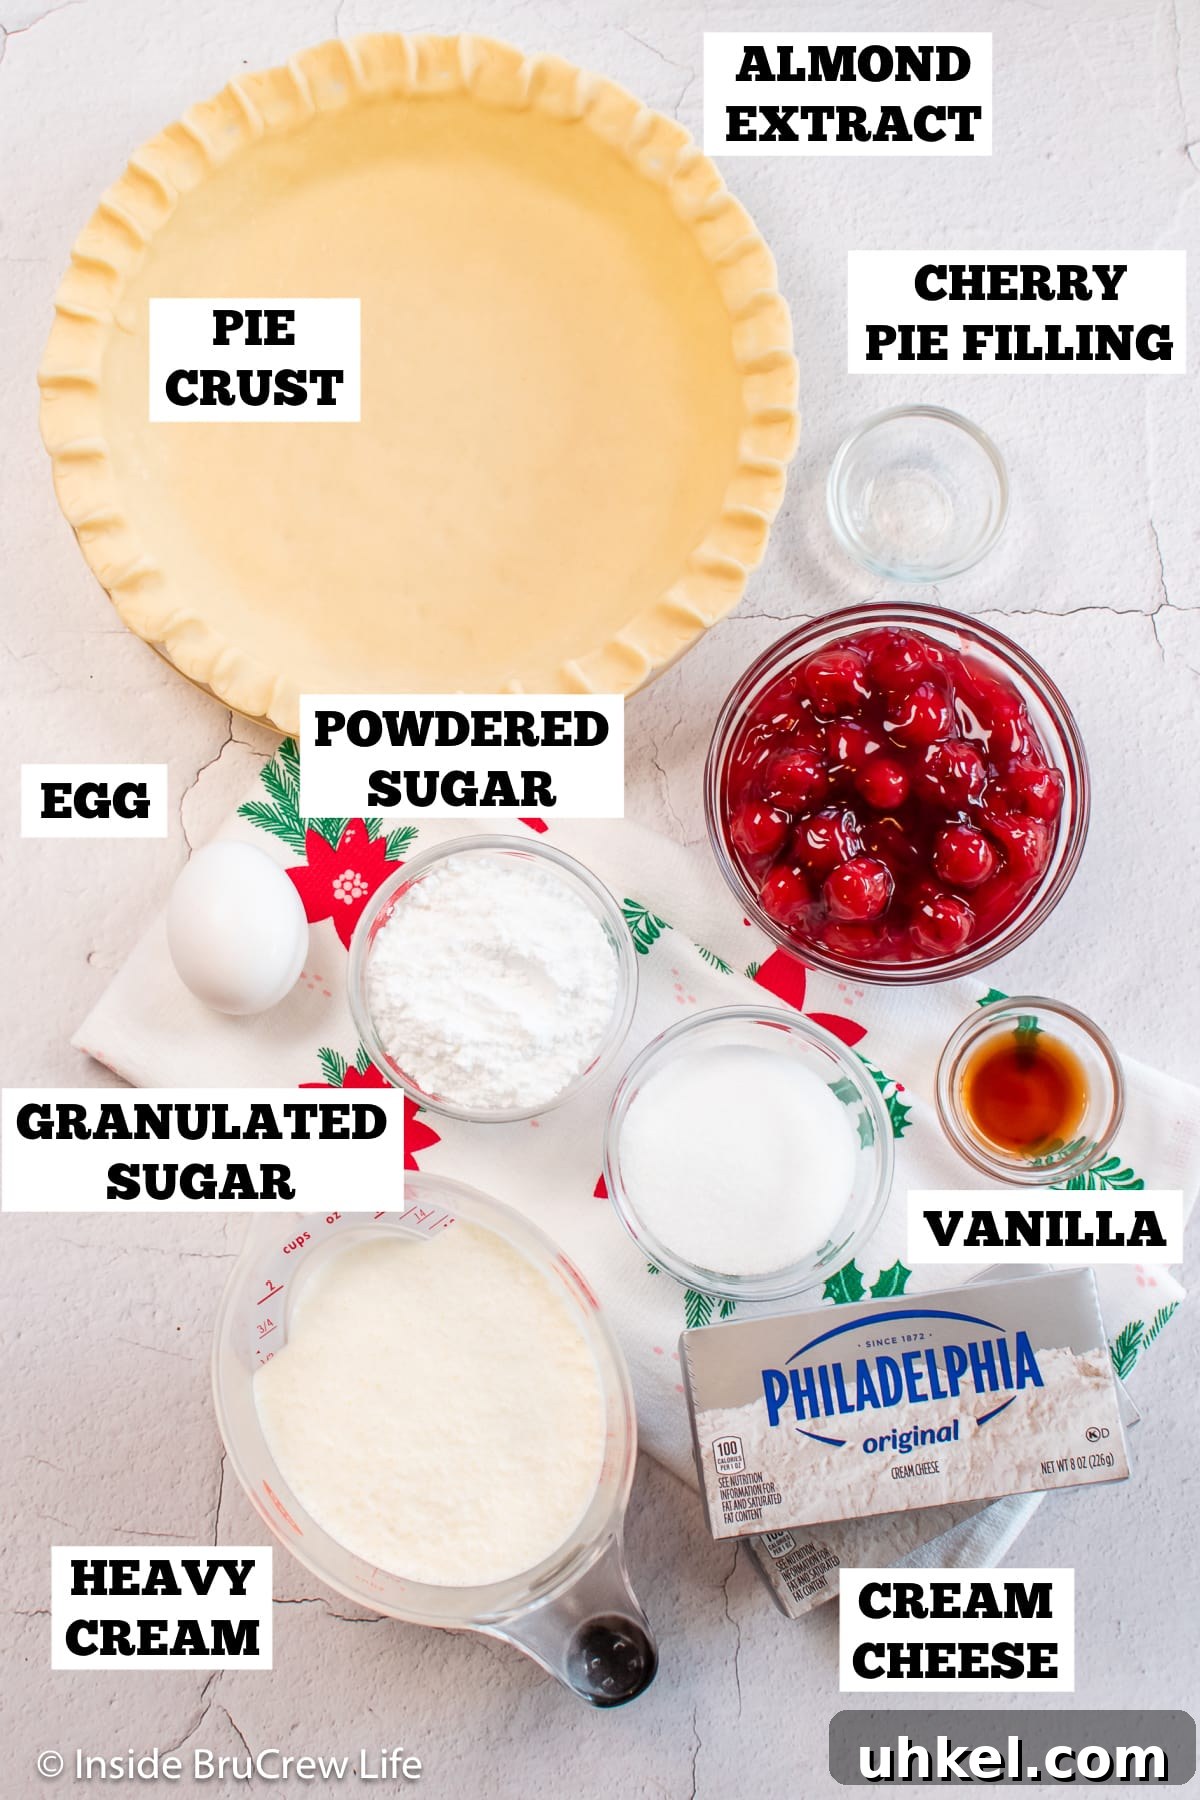
- Pie crust: A refrigerated pre-made crust speeds up prep, but a homemade crust works well too.
- Cream cheese: Full-fat cream cheese gives the best flavor and texture; let it soften before mixing.
- Sugars: Granulated sugar for the baked layer and powdered sugar for the whipped topping.
- Egg: Helps set the baked cream cheese layer.
- Extracts: Vanilla and a touch of almond extract enhance the overall flavor.
- Whipped cream: Make from heavy cream and powdered sugar, whipped to stiff peaks, or use a stable whipped topping.
- Cherry pie filling: A can of cherry pie filling gives great color and convenience; cooked fresh cherries can be used if preferred.
How To Make Cherry Cream Cheese Pie
This pie comes together in a few clear steps: bake a thin cheesecake layer, chill it, add a whipped cream cheese topping, and finish with cherry filling. Here’s an overview to guide you.
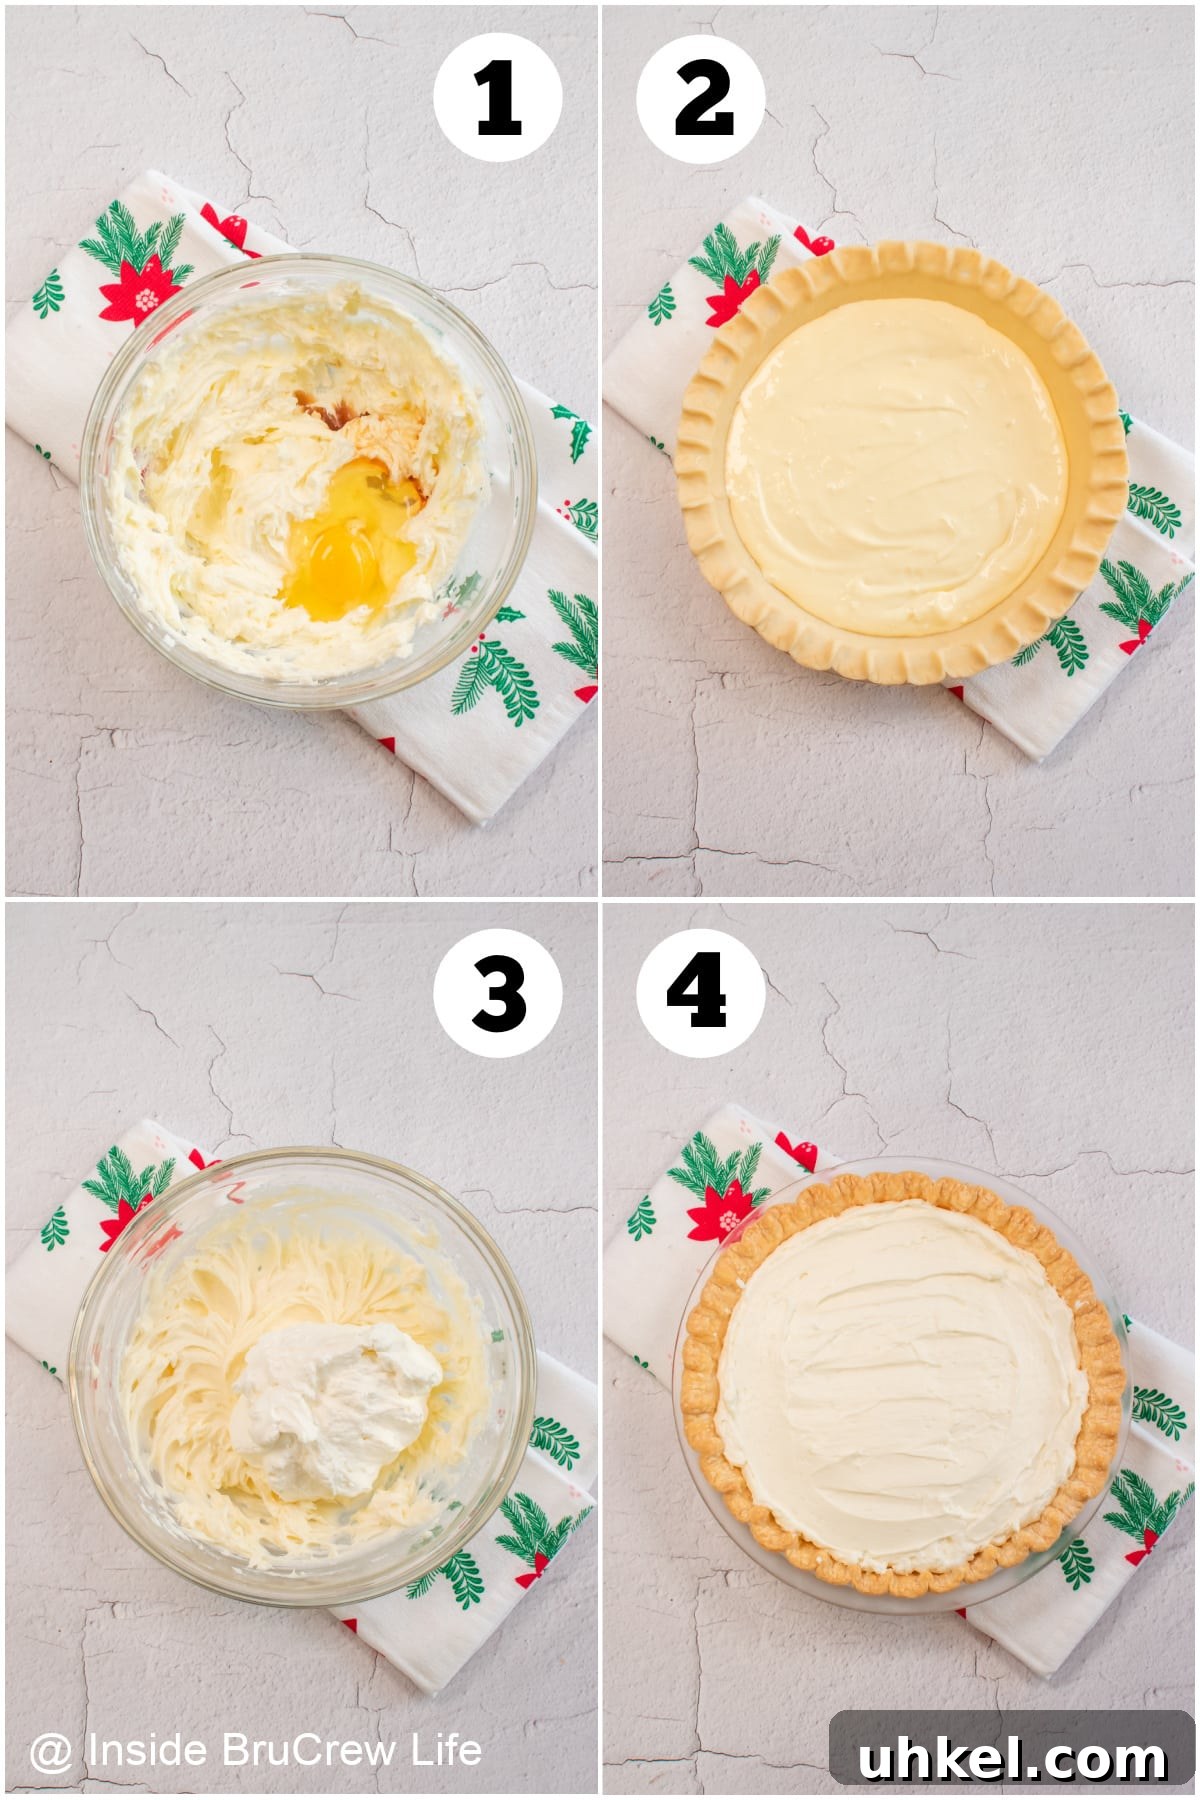
- Prepare the crust. Press a 9-inch pie crust into a pie pan and refrigerate until ready to fill.
- Bake the cheesecake layer. Beat softened cream cheese with granulated sugar until smooth. Add an egg and extracts, mix on low until combined, spread into the crust, and bake until set.
- Chill completely. Cool the baked layer on a rack, then refrigerate until fully chilled so the next layer won’t melt.
- Make the no-bake topping. Beat cream cheese with powdered sugar and extracts until light. Fold in whipped cream gently, then spread this mixture over the chilled baked layer.
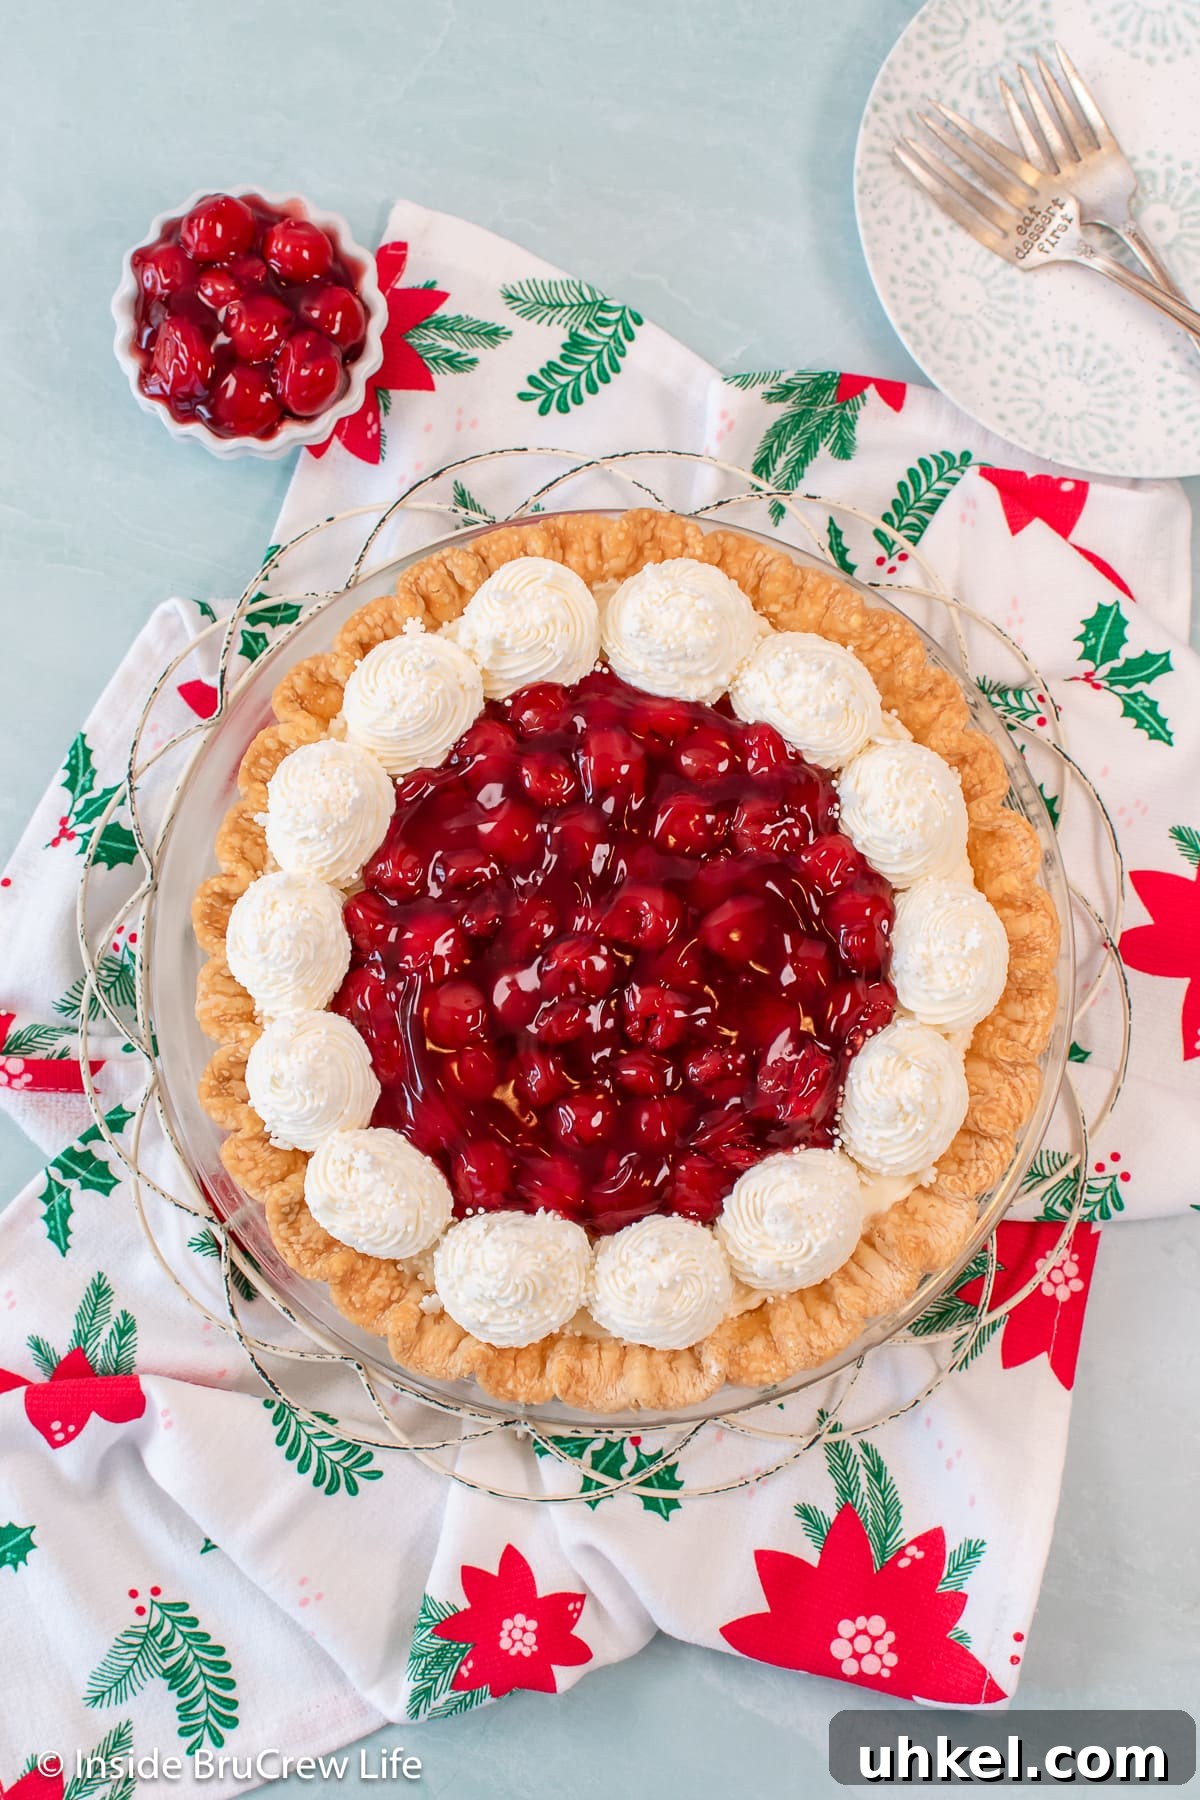
- Decorate and add cherries. Pipe or dollop extra whipped cream around the edge, spoon cherry pie filling into the center, and refrigerate until serving.
Storing and Freezing
Refrigerator: Cover the pie and keep it in the refrigerator for 3–4 days for best quality.
Freezer: Freeze whole or in slices. First place on a tray to firm for about 30 minutes, then wrap tightly in plastic and foil. Store in a freezer-safe container for 1–2 months.
To serve: Thaw overnight in the refrigerator and add any fresh whipped cream or cherry topping just before serving for the best texture.
Tips
- Change the crust. Try a graham cracker or chocolate cookie crust for a different flavor profile.
- Cool completely. Make sure the baked layer is fully cooled before adding the no-bake topping to keep it light and airy.
- Whip well. Beat the whipped topping until it reaches stiff peaks for a stable, fluffy no-bake layer.
- Try other fillings. Blueberry, strawberry, or blackberry pie filling can be used in place of cherries for variety.
- Cut clean slices. Warm a sharp knife under hot water, wipe it dry, and slice for neat pieces without dragging the layers.
More Cherry Desserts
- Cherry cookies and cream parfaits
- Cherry Swiss roll cake
- Cherry pie bombs
- Cherry Danish
If you try this recipe and enjoy it, please leave a rating and a comment to share your experience.
Recipe
Cherry Cream Cheese Pie
8 Slices
30 minutes
30 minutes
2 hours
3 hours
This Cherry Cream Cheese Pie is a crowd-pleaser—creamy, fruity, and elegant enough for special occasions while easy enough for everyday baking.
Ingredients
For the Cheese Layer
- 1 refrigerated pie crust
- 1 package (8 oz) cream cheese, softened
- ¼ cup granulated sugar
- 1 large egg
- ½ teaspoon vanilla extract
- ¼ teaspoon almond extract
For the Whipped Cream
- 1 ½ cups heavy whipping cream
- 6 tablespoons powdered sugar
- ¾ teaspoon vanilla extract
For the No Bake Layer
- 1 package (8 oz) cream cheese, softened
- ¼ cup granulated sugar
- ½ teaspoon vanilla extract
- ¼ teaspoon almond extract
- 1 cup whipped cream (from above mixture)
- 1 cup cherry pie filling
Instructions
- Preheat oven to 350°F.
- Unroll the pie crust and press it into a 9-inch pie plate. Fold and crimp the edges, then chill until ready to fill.
- Beat the cream cheese and granulated sugar until smooth. Add the egg and extracts and mix until combined.
- Spread the mixture into the prepared crust and bake for about 28–30 minutes, until the center is set.
- Cool on a wire rack for an hour, then refrigerate for 2–3 hours until completely chilled.
- Chill a metal mixing bowl and whisk briefly, then beat heavy cream with powdered sugar and vanilla to stiff peaks. Refrigerate the whipped cream.
- Beat the second package of cream cheese with sugar and extracts until smooth. Fold in 1 cup of the whipped cream and spread this no-bake topping over the chilled pie.
- Pipe or spoon additional whipped cream around the edge if desired, then spoon cherry pie filling into the center.
- Cover and refrigerate for best results, about 2–3 hours, before serving.
Notes
*Chill time helps the layers set and makes slicing easier.
Nutrition Information:
Yield: 8
Serving Size: 1
Amount Per Serving:
Calories: 412Total Fat: 26gSaturated Fat: 15gTrans Fat: 1gUnsaturated Fat: 10gCholesterol: 86mgSodium: 163mgCarbohydrates: 39gFiber: 1gSugar: 21gProtein: 5g
Nutrition facts are estimates and may vary. For specific dietary guidance, consult a registered dietitian.
Did you make this recipe?
Share a photo or leave a comment to let others know how it turned out.