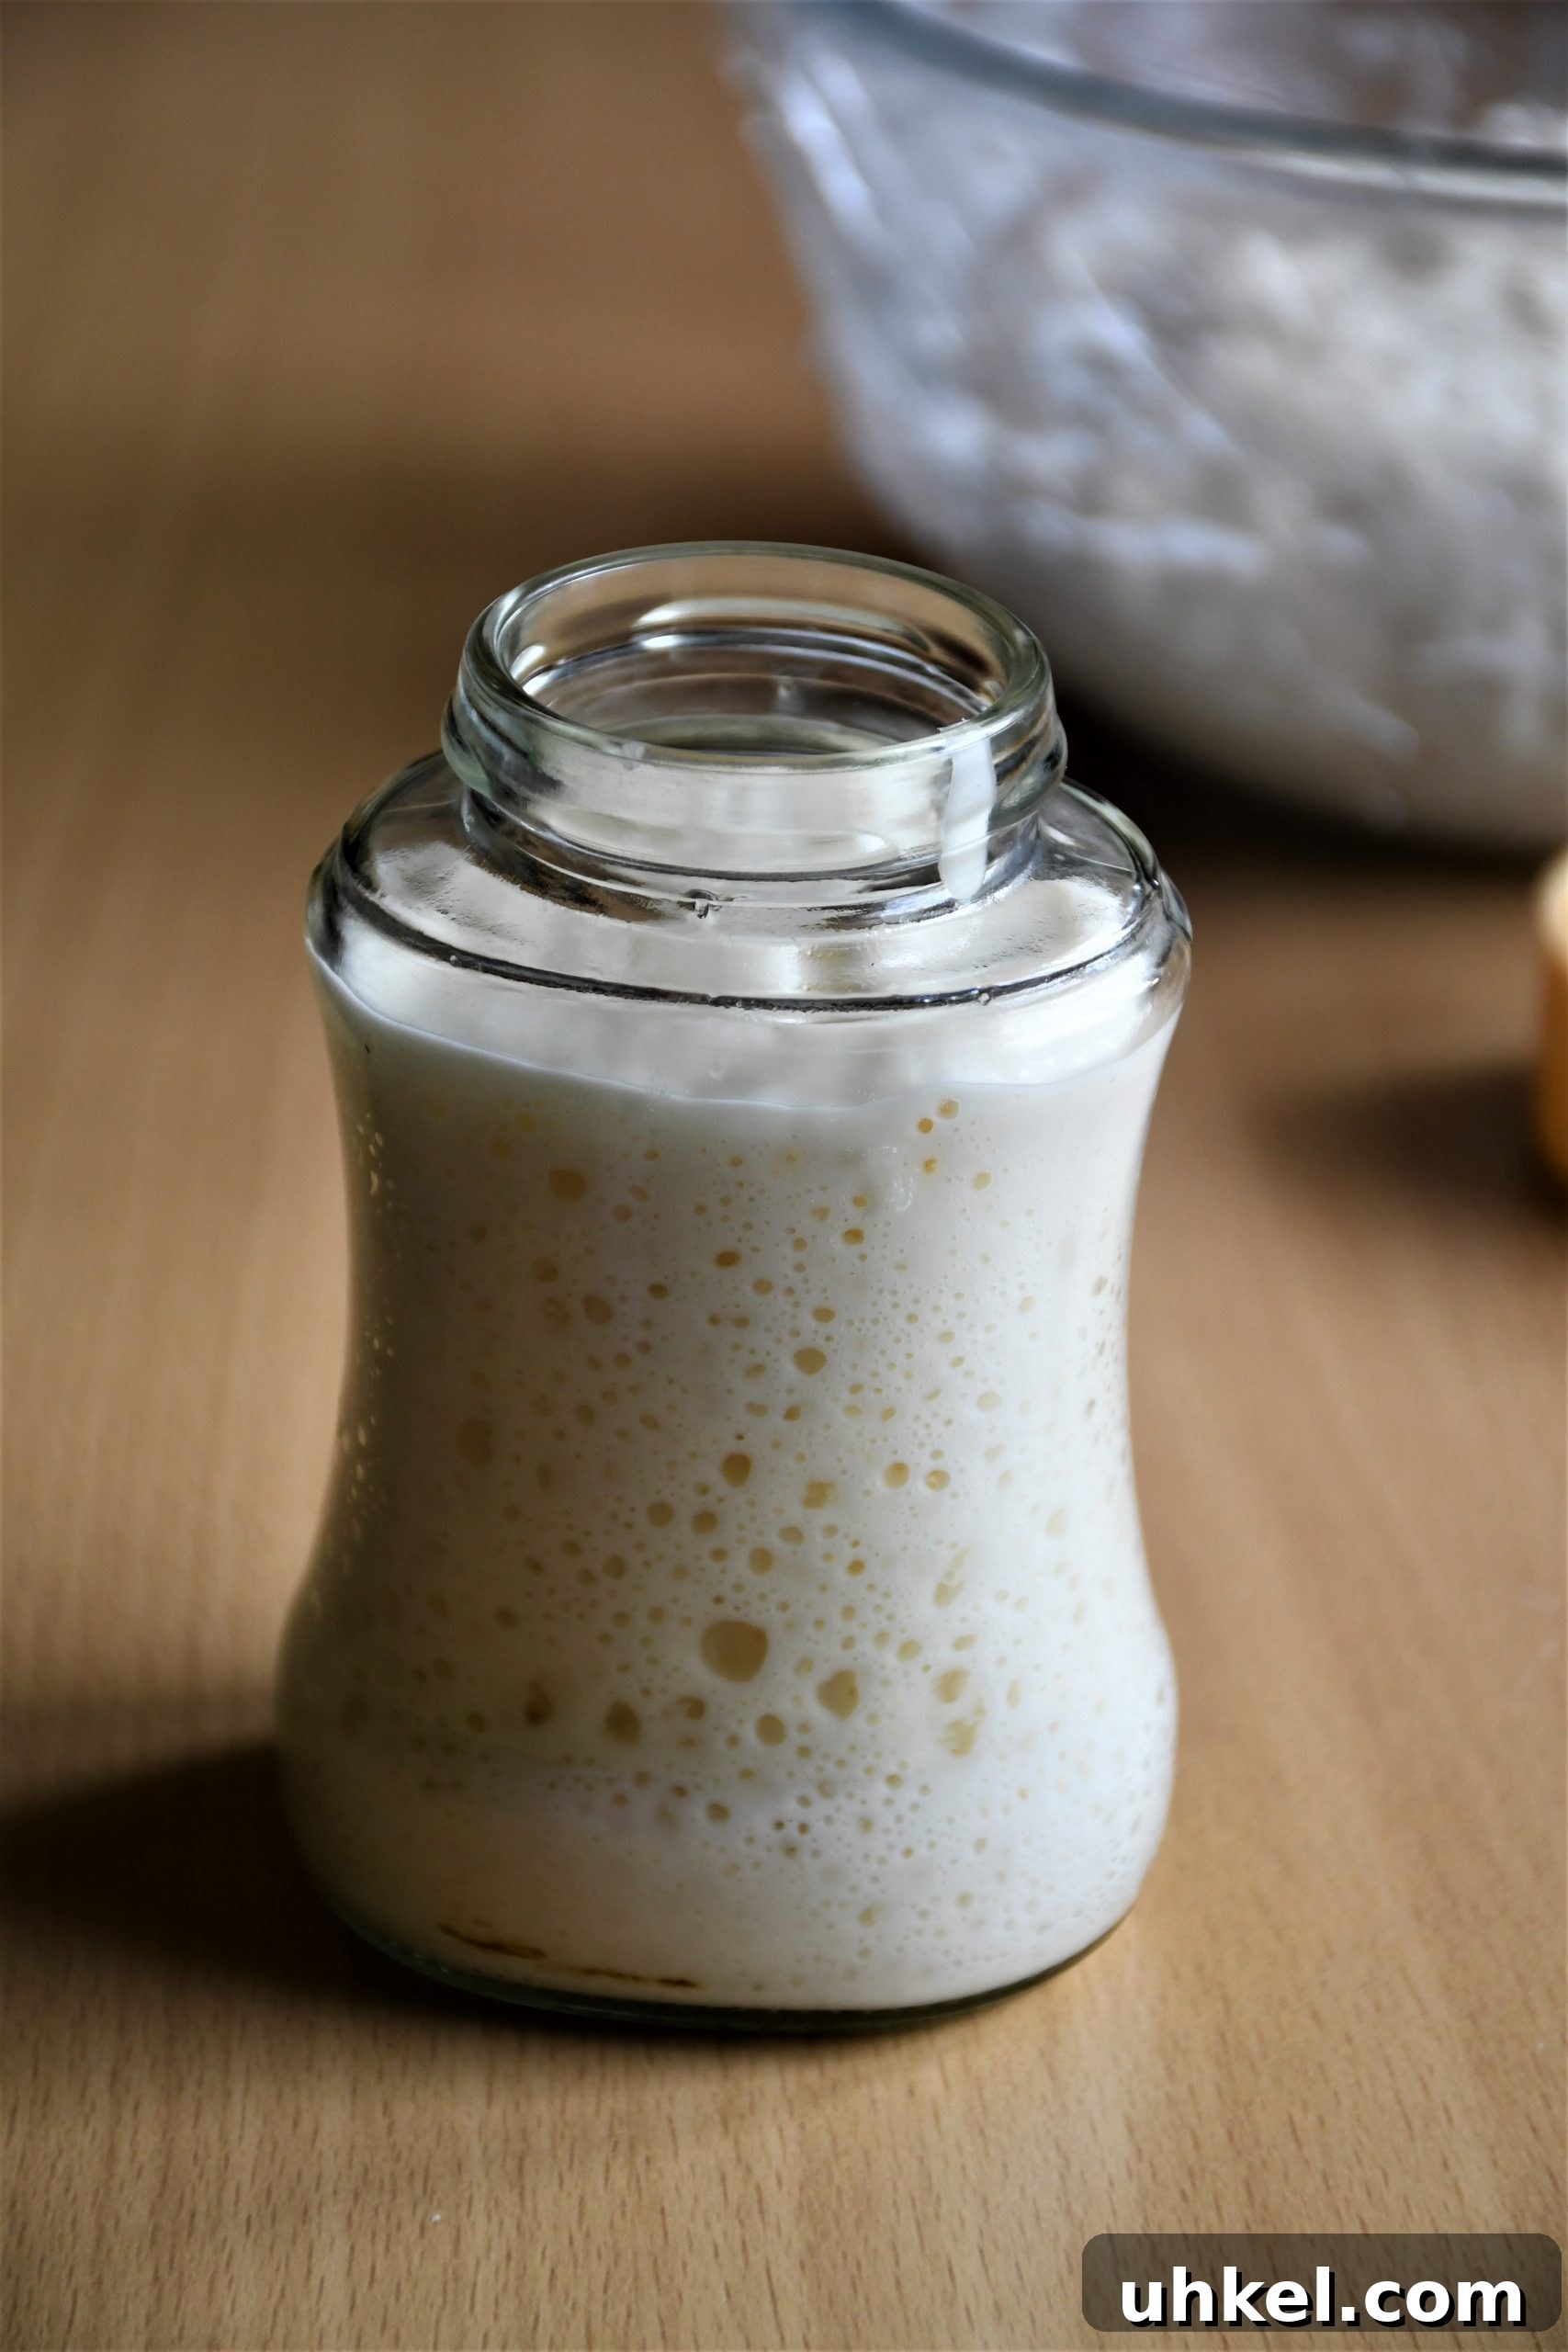
Before you begin sourdough baking, here are the essential points to understand. Sourdough—also called levain or starter—is wild yeast. While commercial yeast is convenient, sourdough delivers deep, complex flavor without additives. A starter is simply flour and water fermented long enough to develop natural yeast and lactic acid bacteria that leaven bread. These microorganisms consume sugars in the flour, producing carbon dioxide that causes both the starter and the dough to rise. Sourdough starters predate commercial yeast and chemical leaveners by centuries; traditional fermented batters used for Indian dosas are a related example of natural fermentation.
Starters can be created with any flour. Making a starter typically takes up to two weeks depending on your local climate, though commercial starter cultures and dehydrated flakes are available if you prefer to buy one. That said, making a starter at home is straightforward: you only need flour, water, and patience. Hands-on time is minimal, and the process is forgiving once you understand the basic signs of activity.
Hydration describes the ratio of water to flour in a starter. Equal parts flour and water by weight create a 100% hydration starter, while twice as much flour as water (by weight) yields a 50% hydration starter. These terms help you control dough consistency and feeding schedules, but they are simple concepts to learn and not meant to complicate your baking.
Sourdough breads have a characteristic flavor and acidity that you can control through fermentation time and the amount of starter used. Online discussions can make sourdough seem complicated because many bakers develop their own methods. There isn’t a single “correct” way to bake—recipes vary, and experienced bakers adapt techniques to their flour, water, and climate. The goal is to learn the behavior of your own starter and dough so you can consistently get great results.
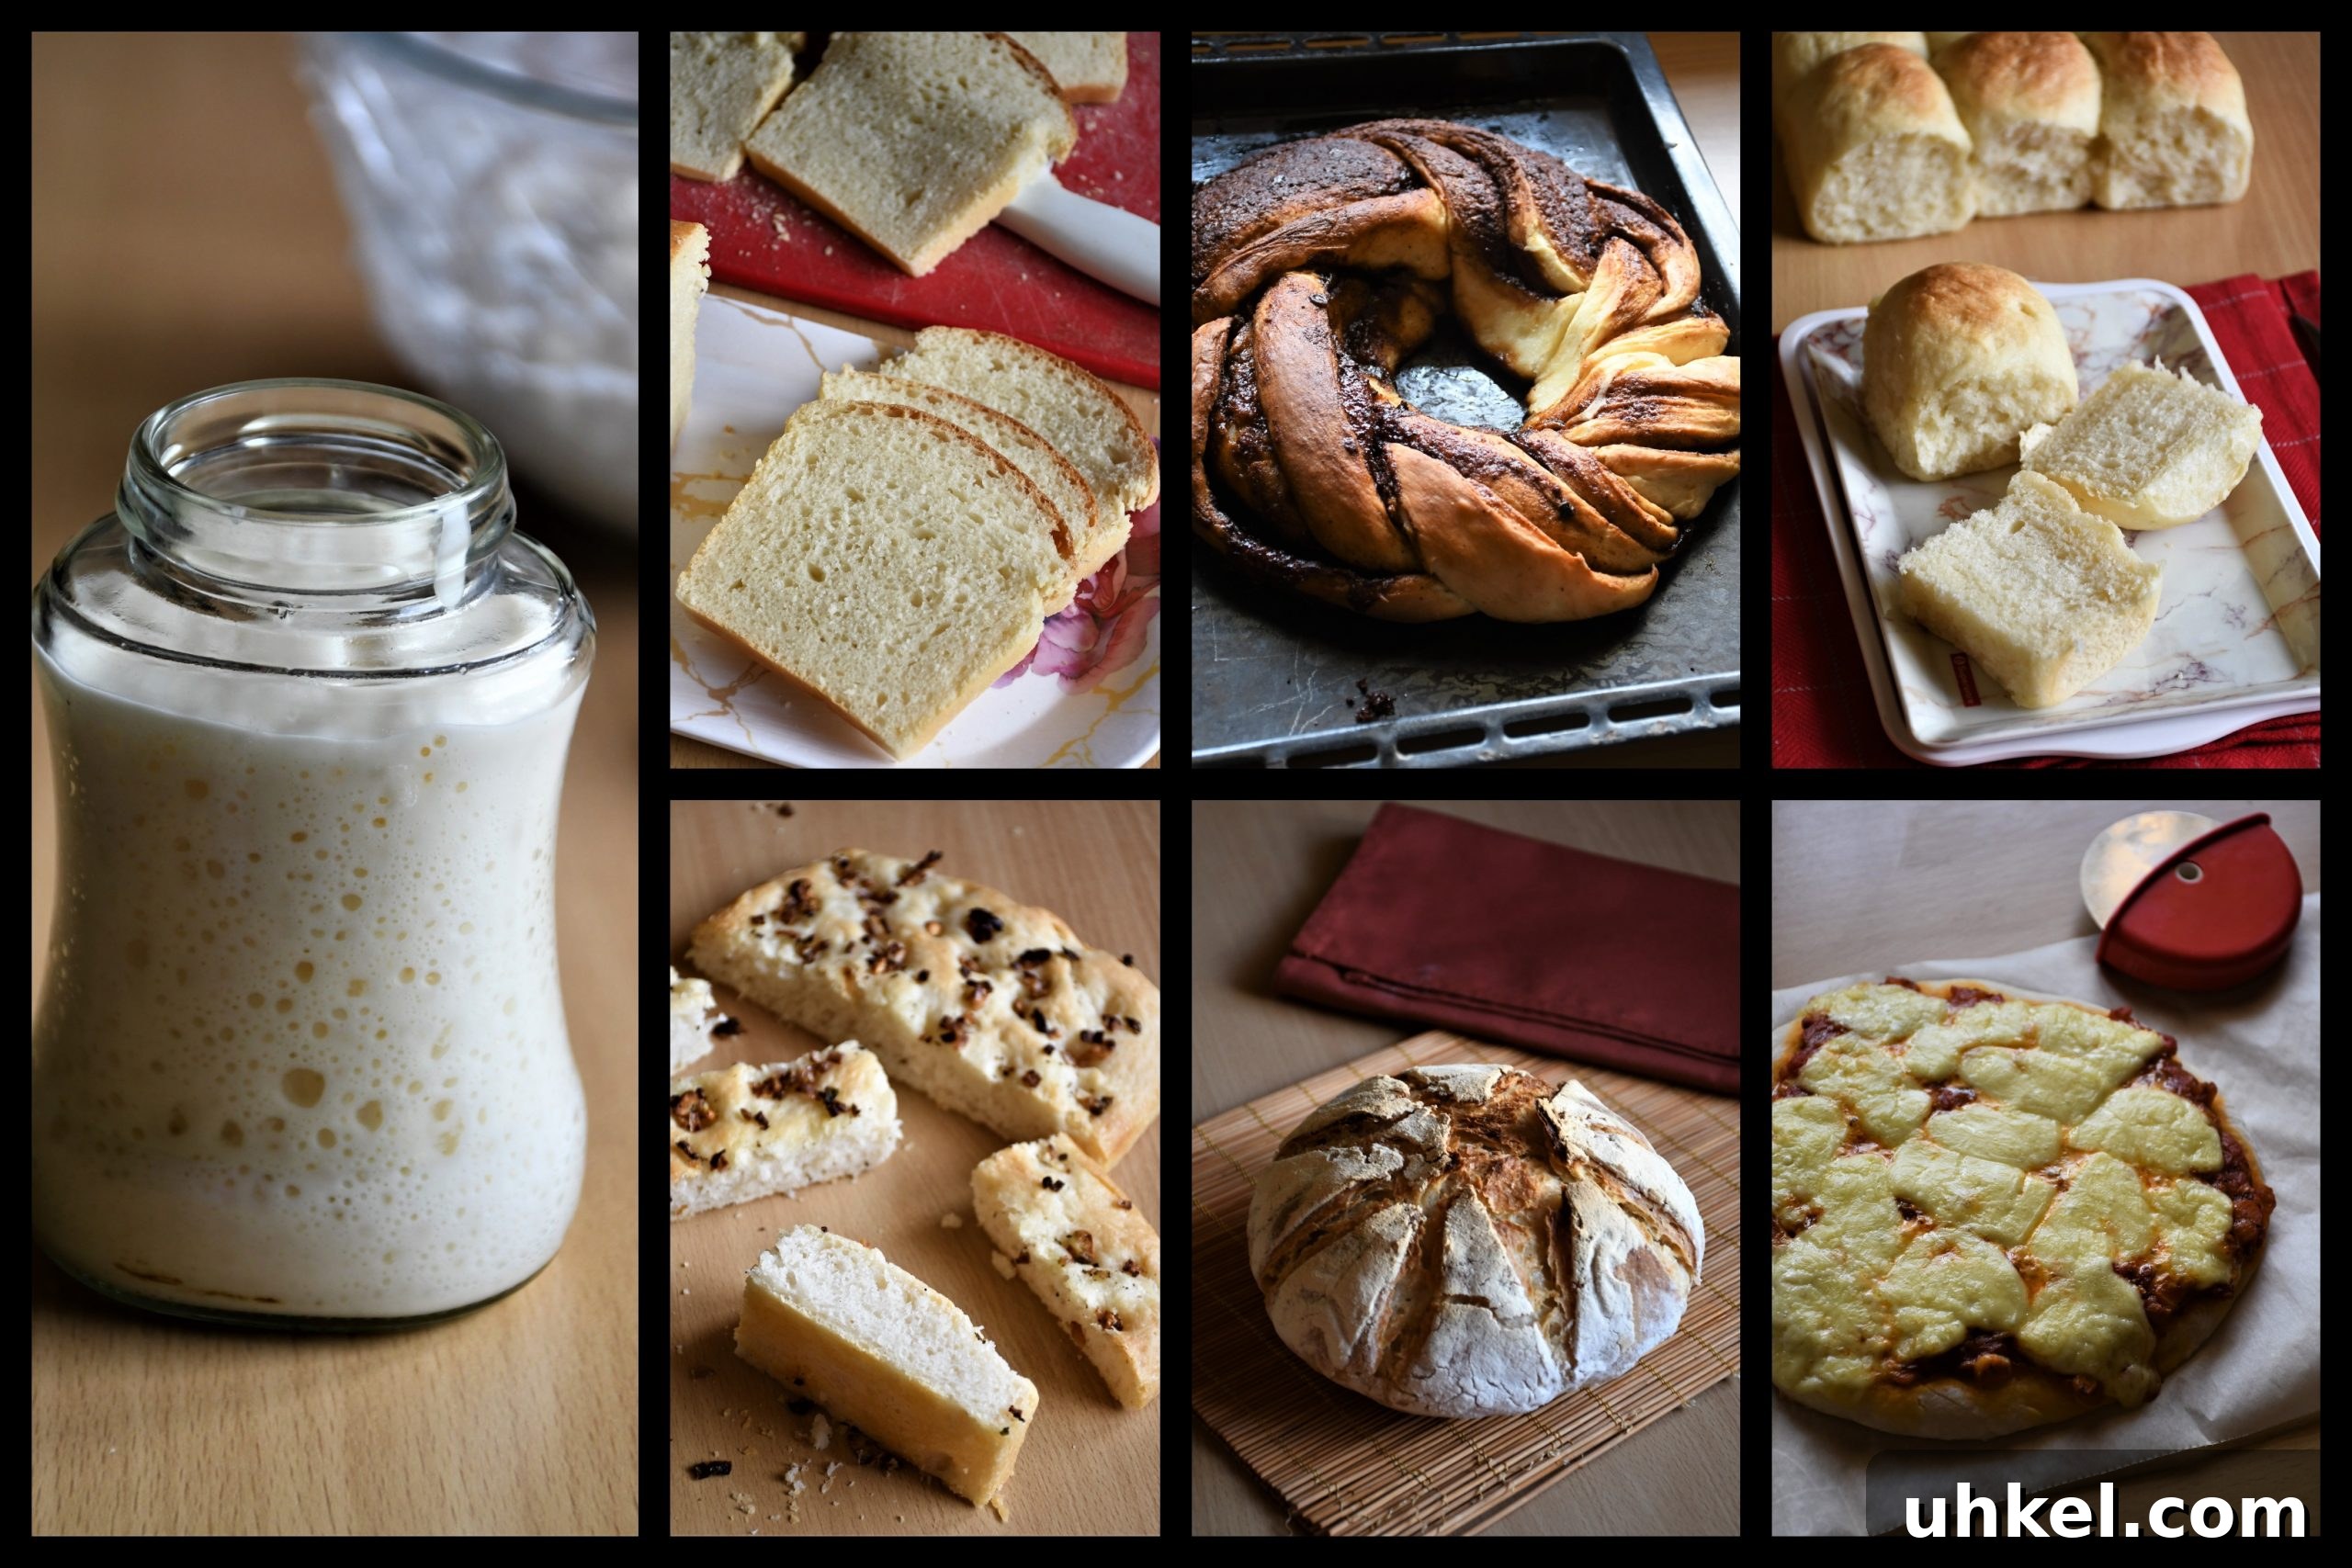
If you are interested in learning sourdough baking, I offer a beginner’s online class delivered as a recorded session on Facebook. The course costs Rs.1000 and includes lifetime access to the group, where I provide ongoing guidance. All the breads featured below are covered in the class. If interested, WhatsApp message to 9865851233.
To make a starter, mix equal weights of flour and water and allow natural fermentation. In warm climates, keep a close eye on the starter. Discard the starter and start over if the surface develops pink, yellow, or gray discoloration—these indicate spoilage. A clear layer of liquid on top, called hooch, is normal; it is an alcoholic byproduct that appears when the starter is hungry. You can stir hooch back in or pour it off before feeding.
Treat your starter like a small pet: observe and learn its rhythms. Its behavior depends on flour type, water quality, and especially climate. Over time you will recognize how yours looks and smells when it is healthy and when it needs attention. General guidelines help, but personal observation is the best teacher.
Below is a straightforward feeding schedule you can follow. The total time to build a reliably active starter is typically five to ten days, again depending on temperature and other conditions. Start in the evening — around 5 pm — to better track activity over 24-hour cycles.
Day 1: Combine 25 g flour and 25 g water in a clean glass or plastic jar. Stir to form a sticky mass, cover with a cloth and secure with a band. After 20–24 hours you should see bubbles and a thinner, batter-like texture. If you see pink, yellow, or grey growth, discard and begin again.
Day 2: When bubbles appear, add 50 g flour and 50 g water to the jar and mix until lump-free. Cover and let sit 12–20 hours. If the starter is bubbly after 12 hours, perform a feed by taking 50 g of starter, discarding or saving the excess, and feeding it with 50 g flour and 50 g water.
Day 3: You should notice finer bubbles and a lighter appearance. When bubbles break across the surface, feed again. Remove 50 g starter and refrigerate or set aside the remainder as discard to use in other recipes. Feed the 50 g starter with 50 g flour and 50 g water and cover tightly. Activity will increase, and you may need a second feeding that day.
Day 4: The starter may require two feeds every 12 hours. Keep discarding excess and feeding with equal weights of flour and water to maintain freshness and vitality.
Day 5: Active starters may need three feeds every 8 hours. Monitor closely and increase feed frequency if activity accelerates.
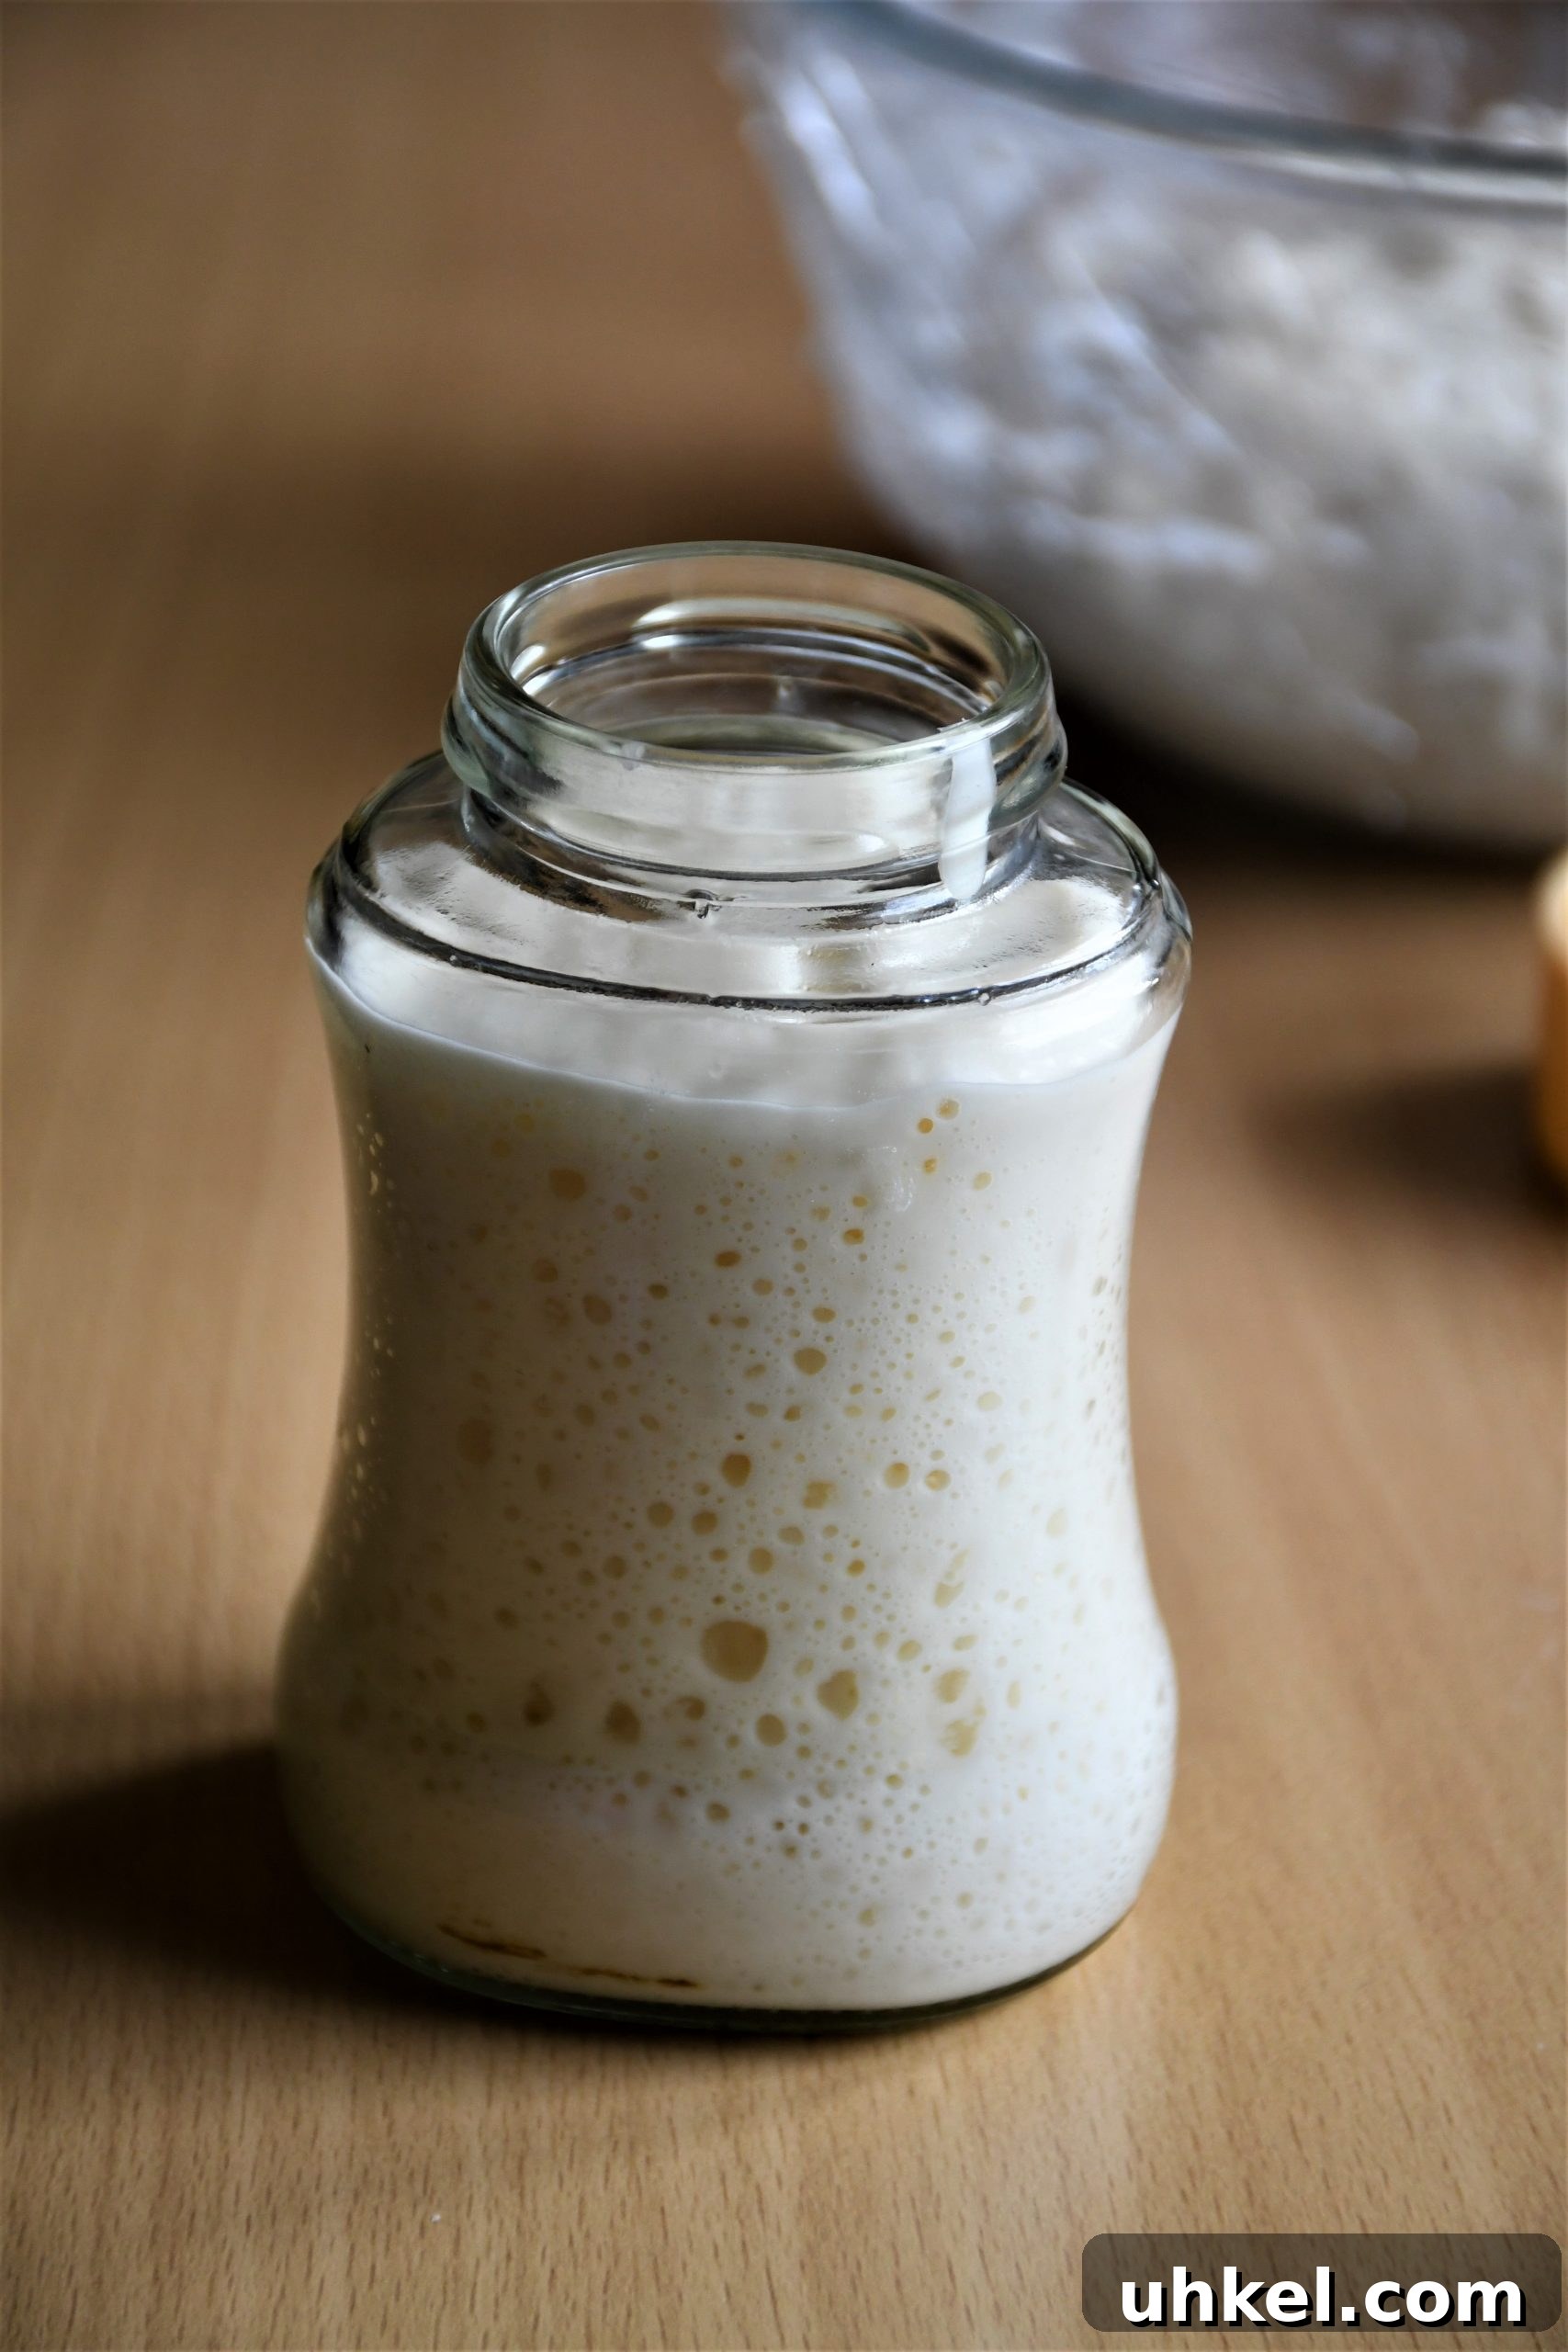
Day 6: The starter is ready when it consistently doubles in volume within four hours and shows large bubbles. Perform the float test at peak activity: drop a tablespoon of starter into room-temperature water—if it floats, it is well aerated and ready for baking. If it sinks, continue feeding until it reliably passes the float test.
Save discarded starter in the fridge to use in recipes. Discard works well in crackers, pancakes, quick breads, or as an addition to doughs to impart a mild sourdough flavor. Over time, you’ll build a collection of discard recipes that reduce waste and expand your baking repertoire.
Maintaining Your Starter
Once your starter is active, you can use it immediately or store it in the refrigerator. For long-term storage, feed it once a week to keep it healthy. When you plan to bake, remove the starter from the fridge, feed it, and wait until it becomes active before using.
A refrigerated starter can survive without feeding for several weeks, but weekly refreshes keep it strong and flavorful. Many home bakers maintain starters for years; the more you nurture it, the more complexity and depth develop in the flavor.
If you’ll be away for an extended period, you can freeze a portion of starter or dehydrate it into flakes for compact storage. Both methods allow easy revival later. You can also share discard or portions of starter with friends so they can begin their own sourdough journey.